OBD2 tools on OBD2shop.co.uk https://blog.dnevnik.hr/obd2shop
petak, 18.04.2025.
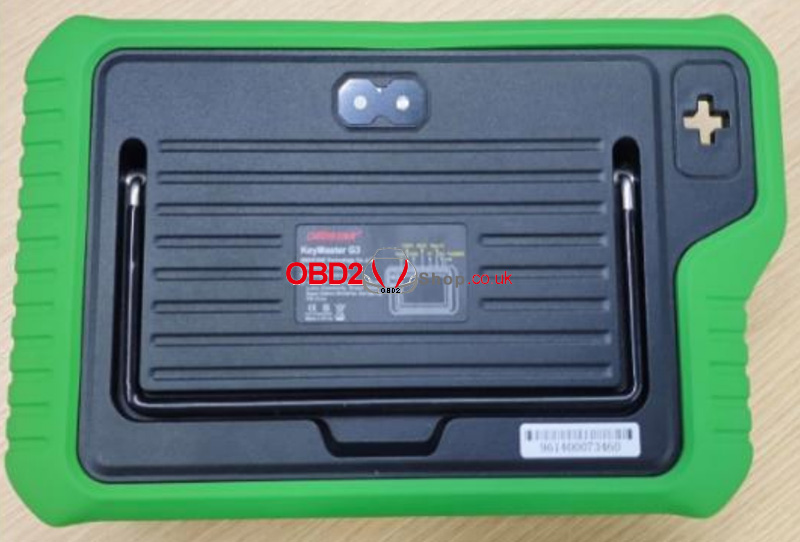
OBDSTAR X300 Classic G3 Startup Failure Repair Guide
If your OBDSTRA X300 Classic G3 device won't start, don't worry! Follow this step-by-step guide to troubleshoot and fix the issue by checking key components like the battery, U17 chip, and L8 inductor.
Tools Required
Screwdriver (hex-compatible)
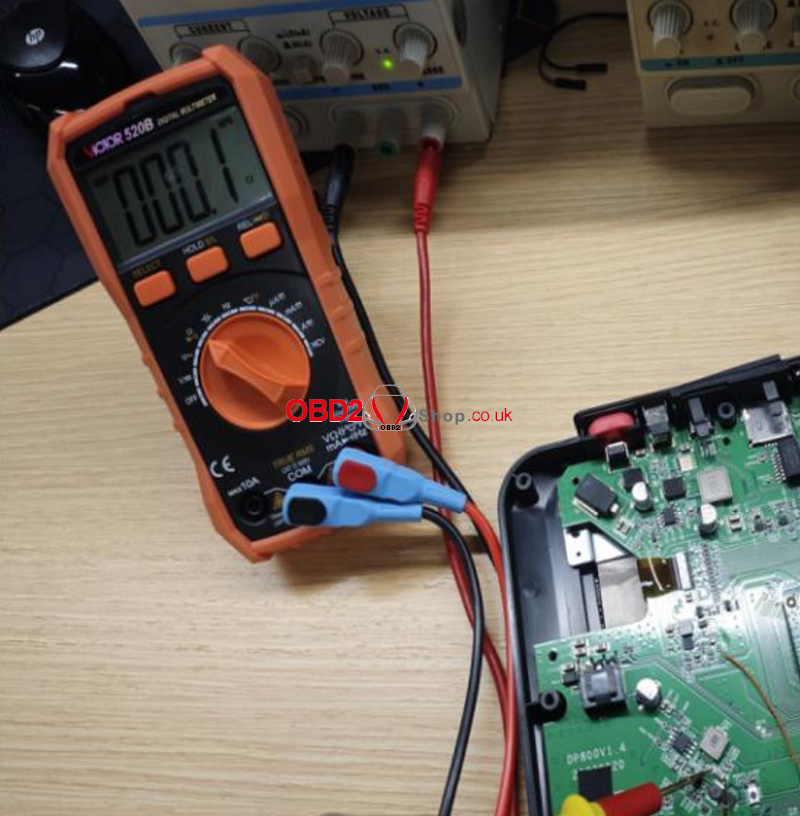
Multimeter
Soldering iron or hot air gun (temperature adjustable)
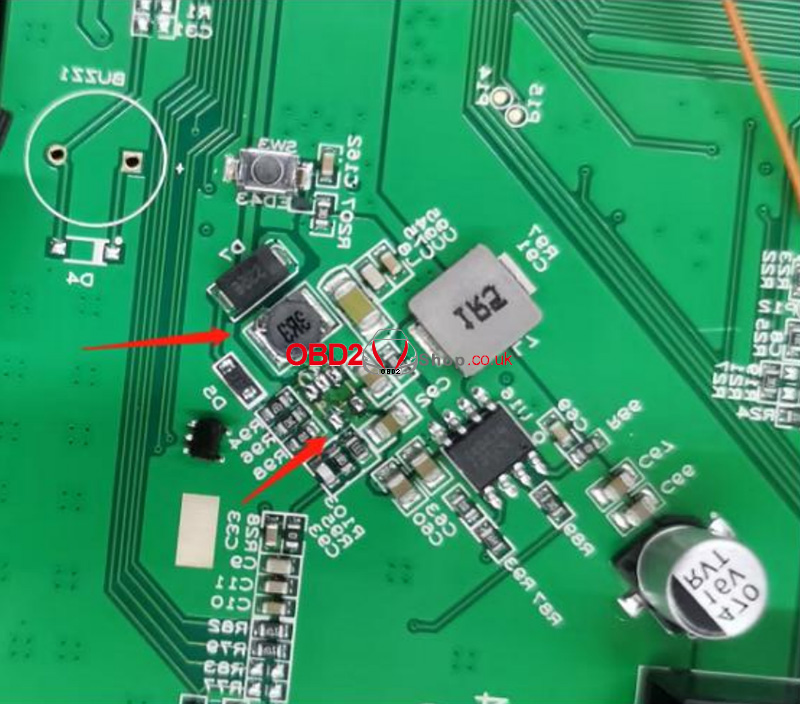
Replacement components: U17 (IC) and L8 (1µH inductor)
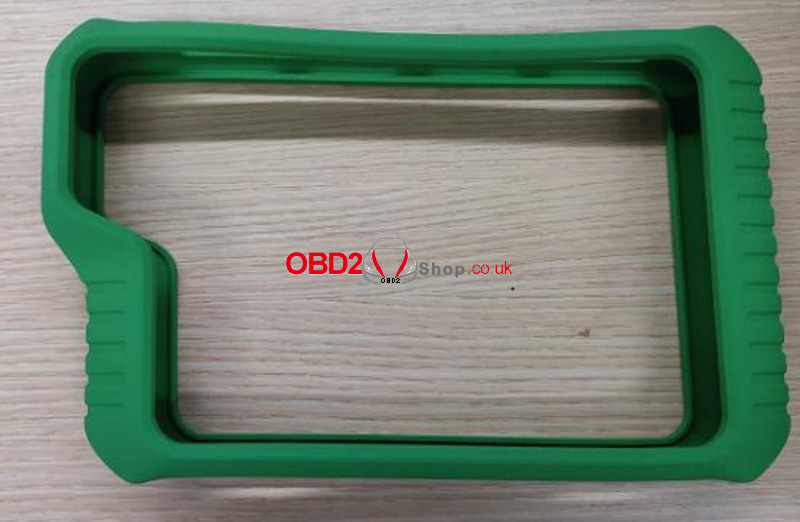
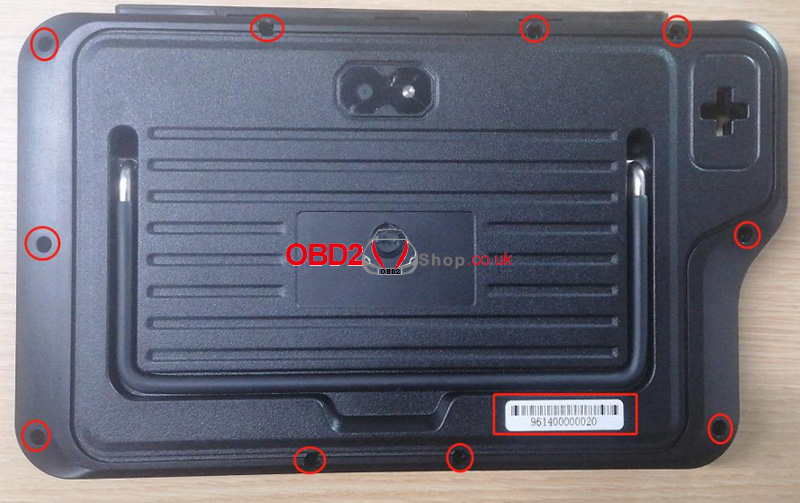
Step 1: Remove the rubber case. Then, use a screwdriver to loosen and remove the fixed hex screws.
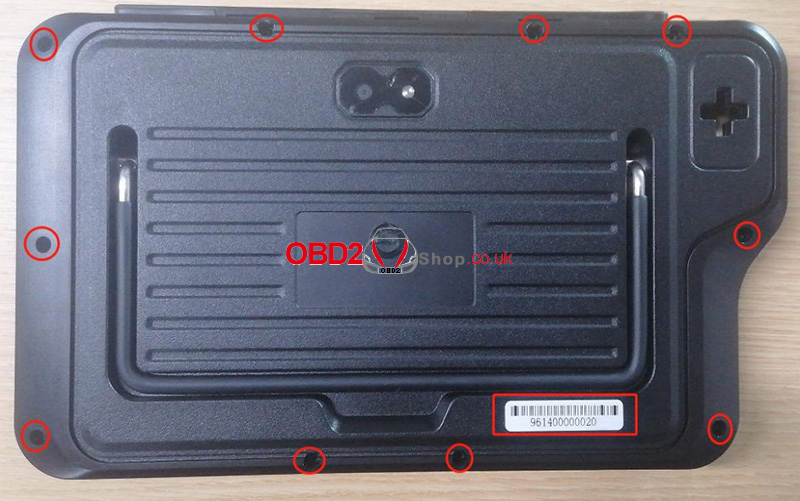
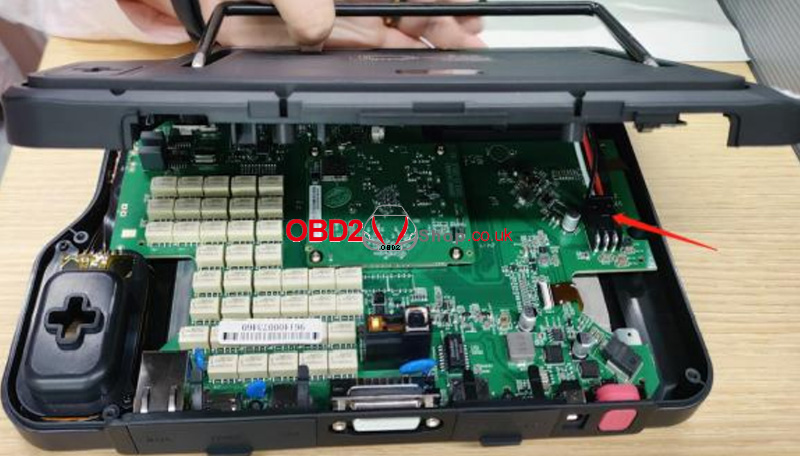
Step 2: Open the back cover, press down on the battery connector clip with your hand, and then pull out the battery connector.
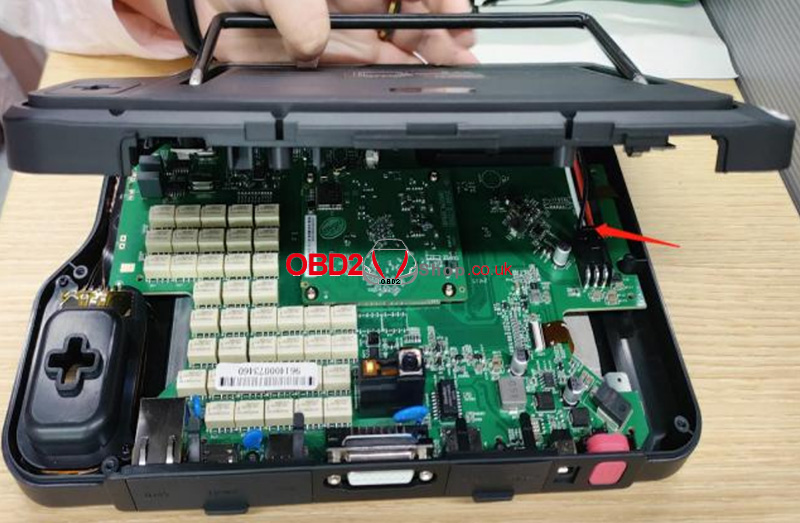
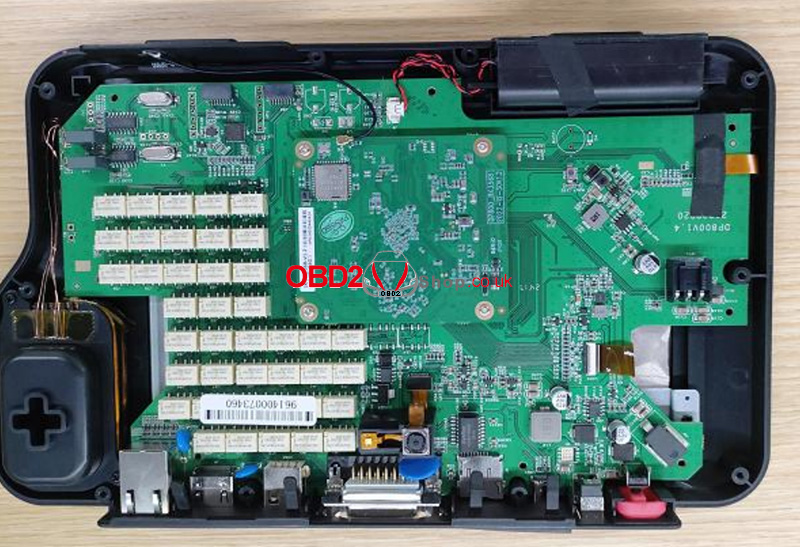
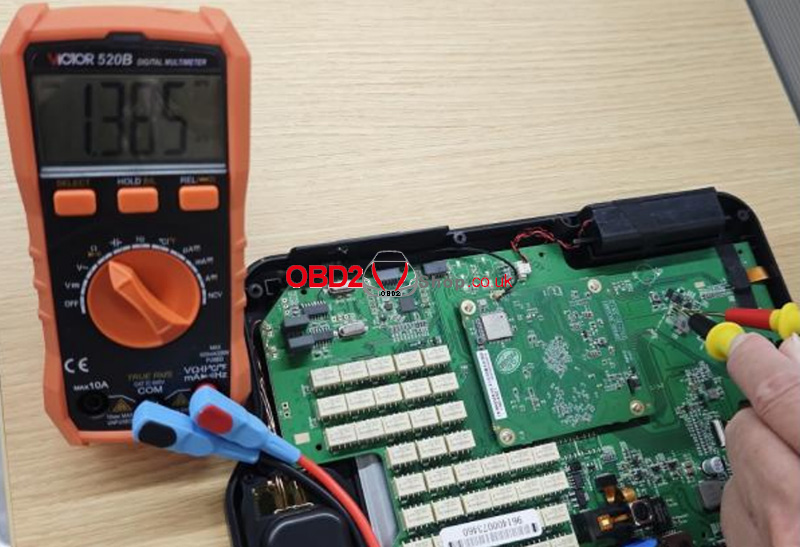
Step 3: Use a multimeter set to the ohms range to test the two ends of capacitor C75. If the resistance is around 0©, it indicates that U17 and L8 are damaged and are causing a short circuit. Replace U17 and L8.
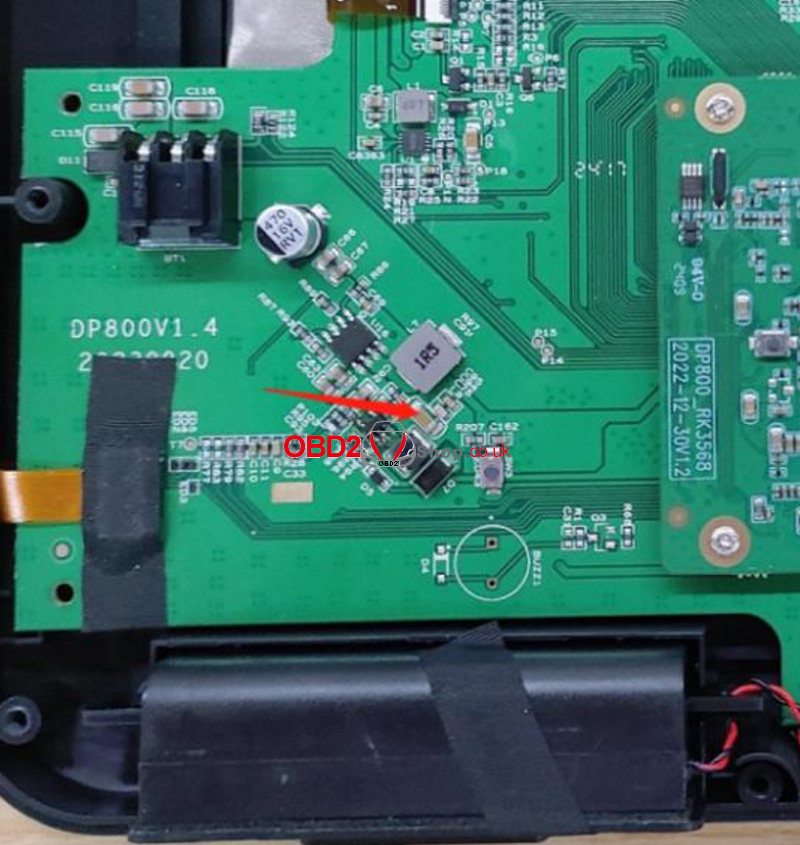
Step 4: Use a soldering iron or hot air gun set to 350 ± 10°C to desolder and remove U17 and L8. (Replace L8 with a 1uH inductor.)
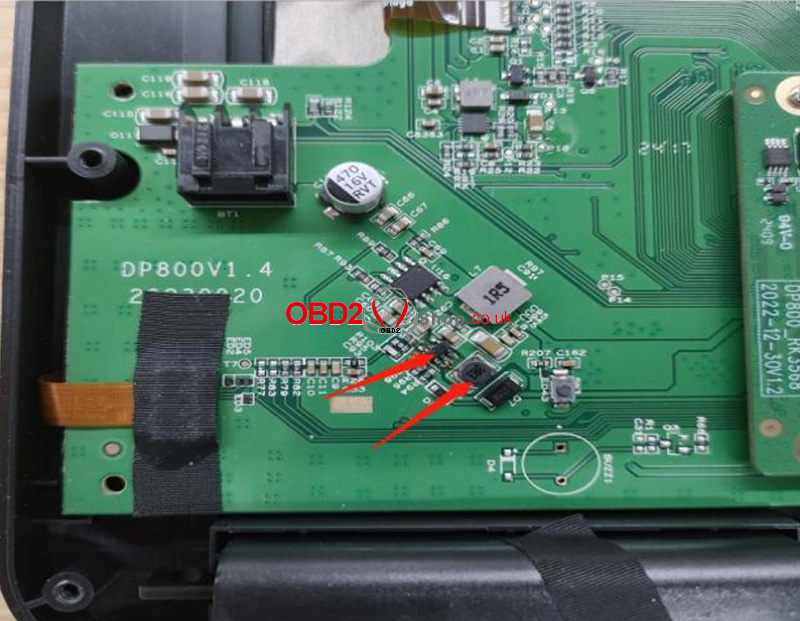
Step 5: After the replacement, use the multimeter set to the ohms range to test the two ends of capacitor C75 again. If the resistance is approximately 1.36K©, it confirms that U17 and L8 have been successfully replaced.
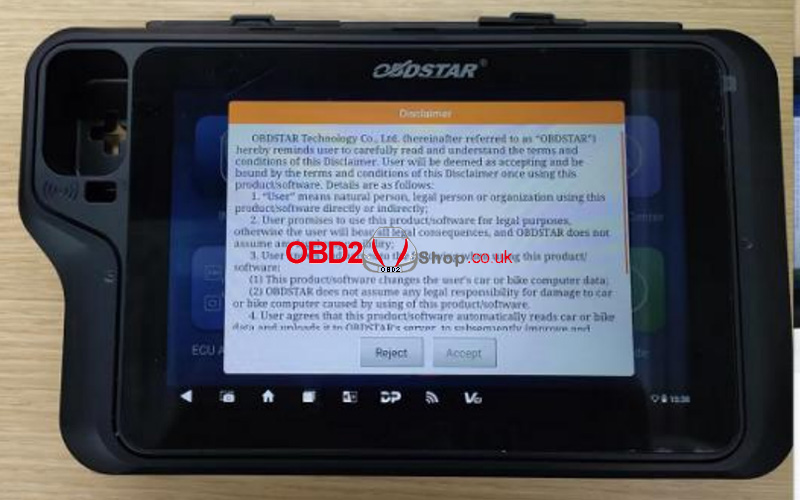
Step 6: Insert the battery connector, reassemble the back cover, and press the power button to turn on the device. If it starts up normally, the replacement is successful.
Step 7: Use a screwdriver to fasten the screws to the back cover, and put the rubber case back on. The replacement is complete!
This guide resolves short-circuit issues caused by faulty U17 and L8, restoring normal operation to the X300 Classic G3.
www.obd2shop.co.uk
Oznake: obdstar x300 classic g3

| < | travanj, 2025 | > | ||||
| P | U | S | Č | P | S | N |
| 1 | 2 | 3 | 4 | 5 | 6 | |
| 7 | 8 | 9 | 10 | 11 | 12 | 13 |
| 14 | 15 | 16 | 17 | 18 | 19 | 20 |
| 21 | 22 | 23 | 24 | 25 | 26 | 27 |
| 28 | 29 | 30 | ||||
Svibanj 2026 (1)
Siječanj 2026 (19)
Prosinac 2025 (22)
Studeni 2025 (21)
Listopad 2025 (20)
Rujan 2025 (21)
Kolovoz 2025 (8)
Srpanj 2025 (13)
Lipanj 2025 (9)
Svibanj 2025 (12)
Travanj 2025 (10)
Ožujak 2025 (12)
Veljača 2025 (14)
Siječanj 2025 (8)
Prosinac 2024 (6)
Studeni 2024 (6)
Listopad 2024 (4)
Rujan 2024 (7)
Kolovoz 2024 (14)
Srpanj 2024 (12)
Lipanj 2024 (10)
Svibanj 2024 (13)
Travanj 2024 (12)
Ožujak 2024 (11)
Veljača 2024 (2)
Siječanj 2024 (10)
Prosinac 2023 (8)
Studeni 2023 (6)
Listopad 2023 (7)
Rujan 2023 (9)
Kolovoz 2023 (6)
Srpanj 2023 (10)
Lipanj 2023 (4)
Veljača 2023 (8)
Siječanj 2023 (14)
Prosinac 2022 (13)
Studeni 2022 (14)
Listopad 2022 (18)
Rujan 2022 (9)
Kolovoz 2022 (16)
Srpanj 2022 (11)
Lipanj 2022 (14)
Svibanj 2022 (13)
Travanj 2022 (12)
Ožujak 2022 (12)
Veljača 2022 (13)
Siječanj 2022 (10)
Srpanj 2021 (1)
Dnevnik.hr
Gol.hr
Zadovoljna.hr
Novaplus.hr
NovaTV.hr
DomaTV.hr
Mojamini.tv