Marketing
OBDSTAR X300 Classic G3 Startup Failure Repair Guide
If your OBDSTRA X300 Classic G3 device won't start, don't worry! Follow this step-by-step guide to troubleshoot and fix the issue by checking key components like the battery, U17 chip, and L8 inductor.
Tools Required
Screwdriver (hex-compatible)
Multimeter
Soldering iron or hot air gun (temperature adjustable)
Replacement components: U17 (IC) and L8 (1µH inductor)
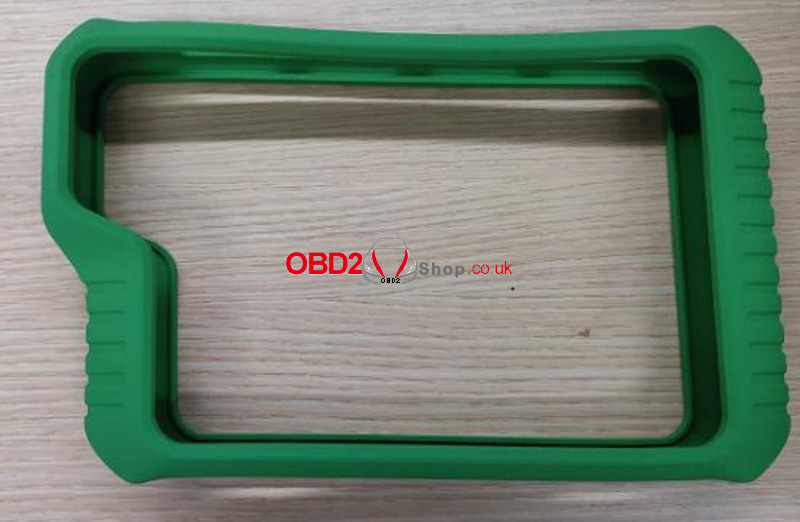
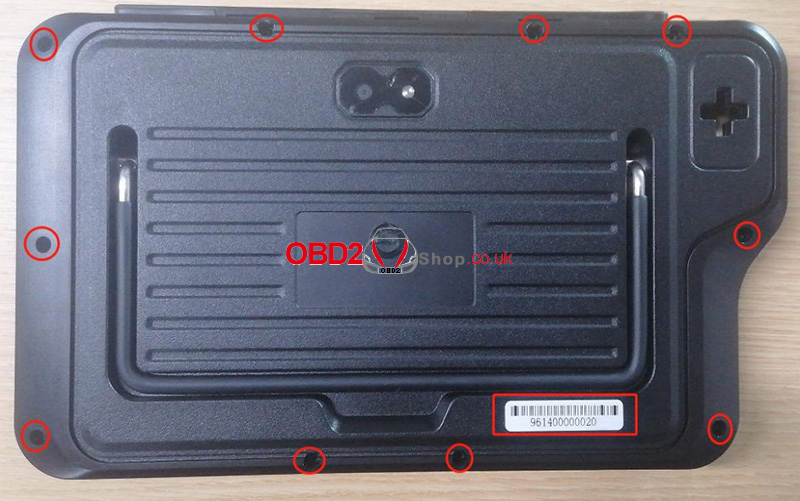
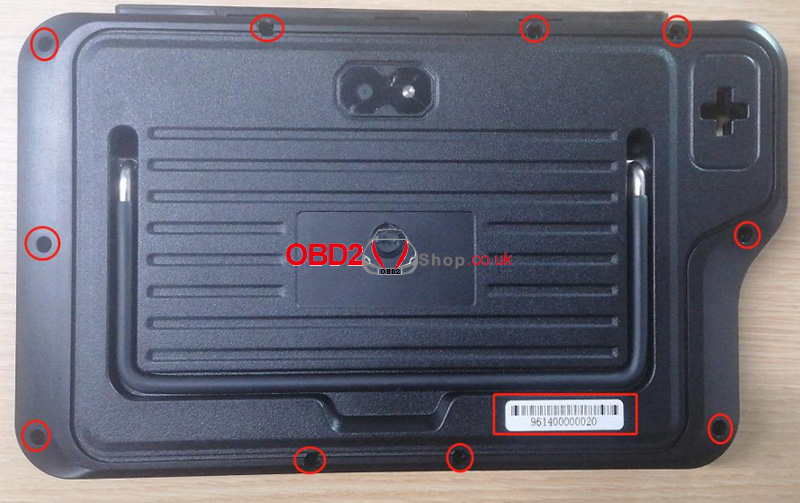
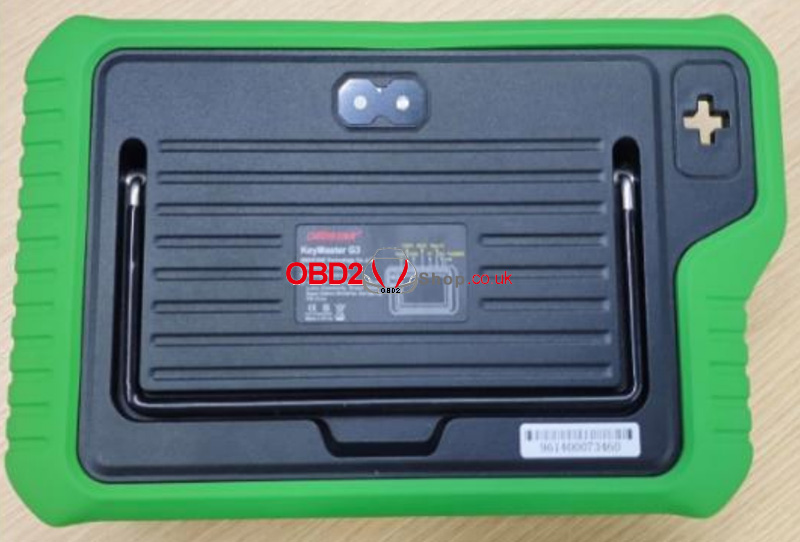
Step 1: Remove the rubber case. Then, use a screwdriver to loosen and remove the fixed hex screws.
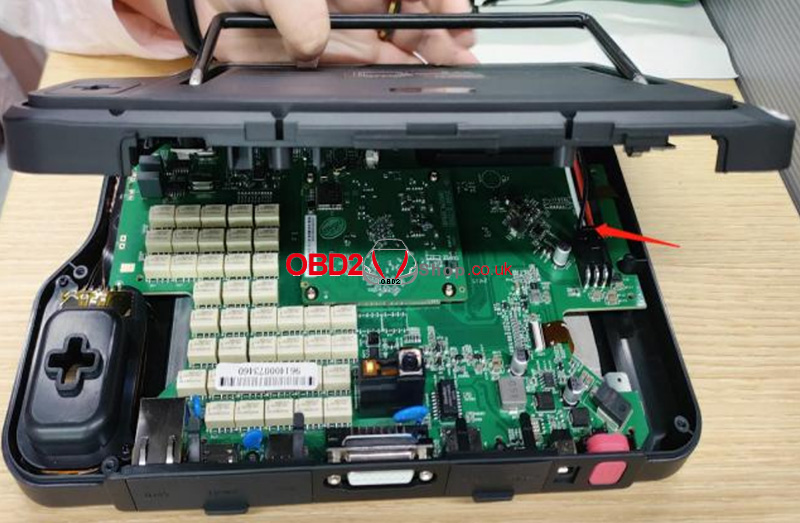
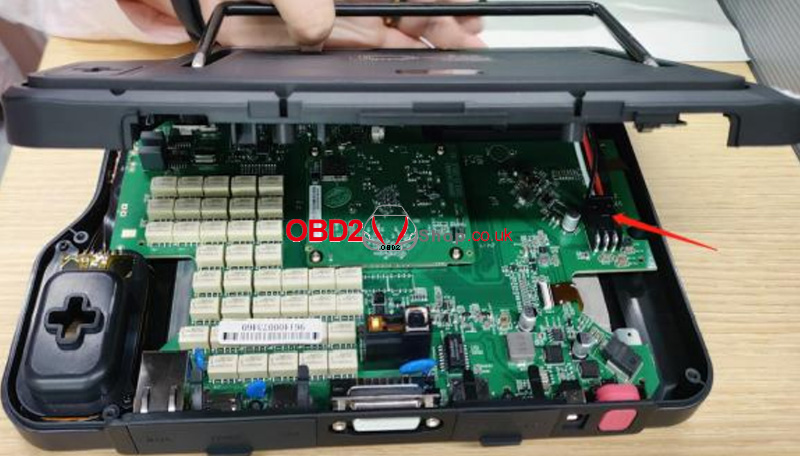
Step 2: Open the back cover, press down on the battery connector clip with your hand, and then pull out the battery connector.
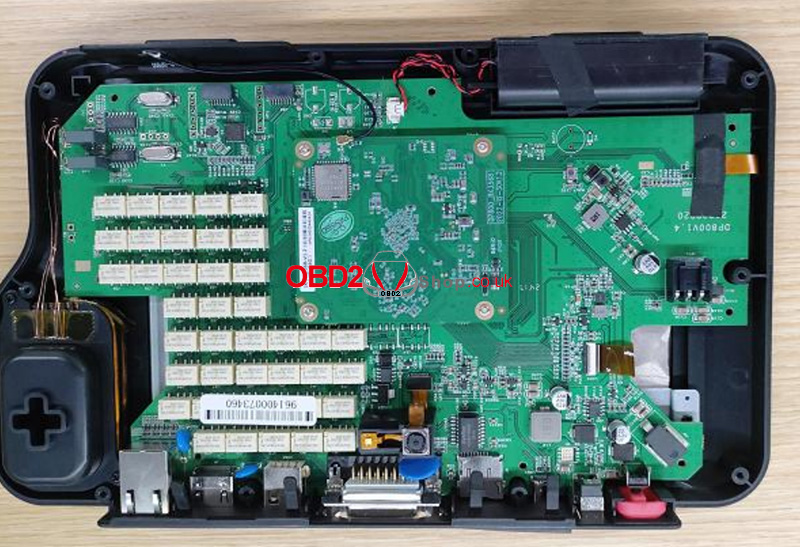
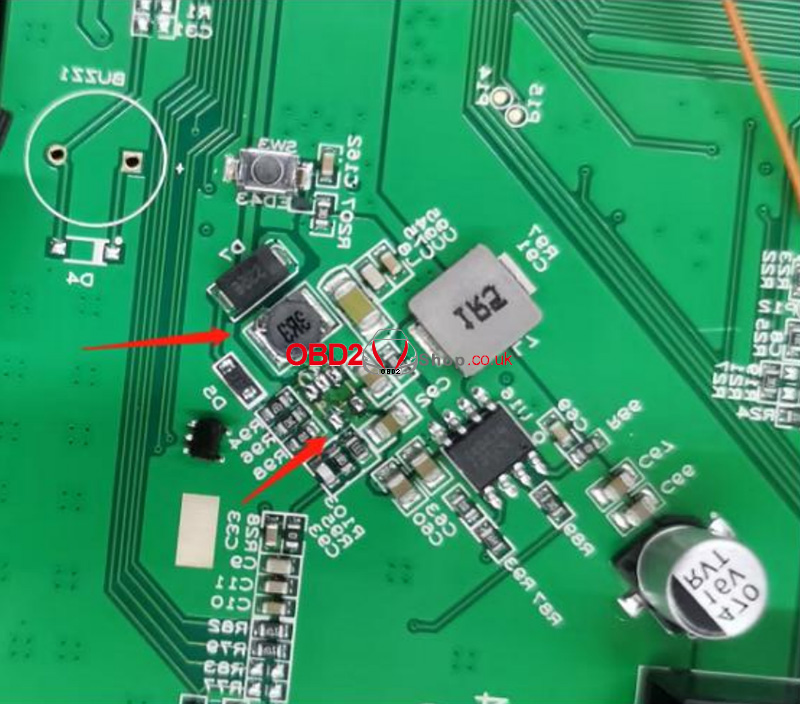
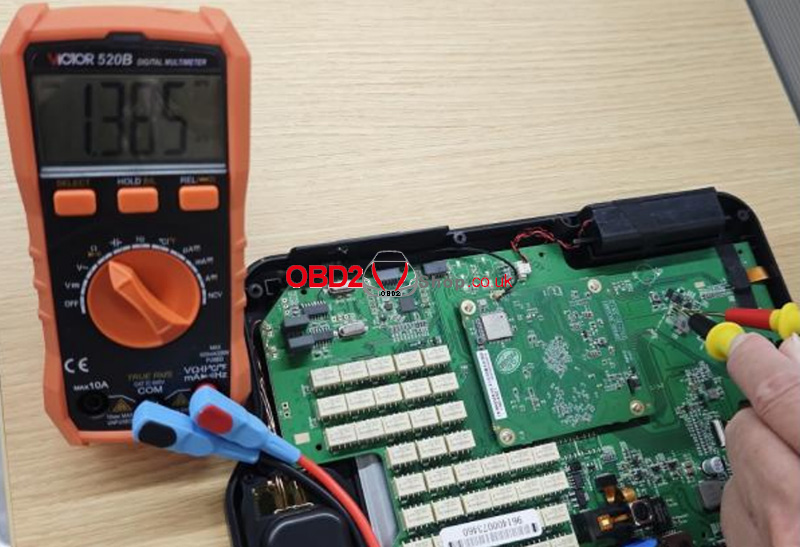
Step 3: Use a multimeter set to the ohms range to test the two ends of capacitor C75. If the resistance is around 0©, it indicates that U17 and L8 are damaged and are causing a short circuit. Replace U17 and L8.
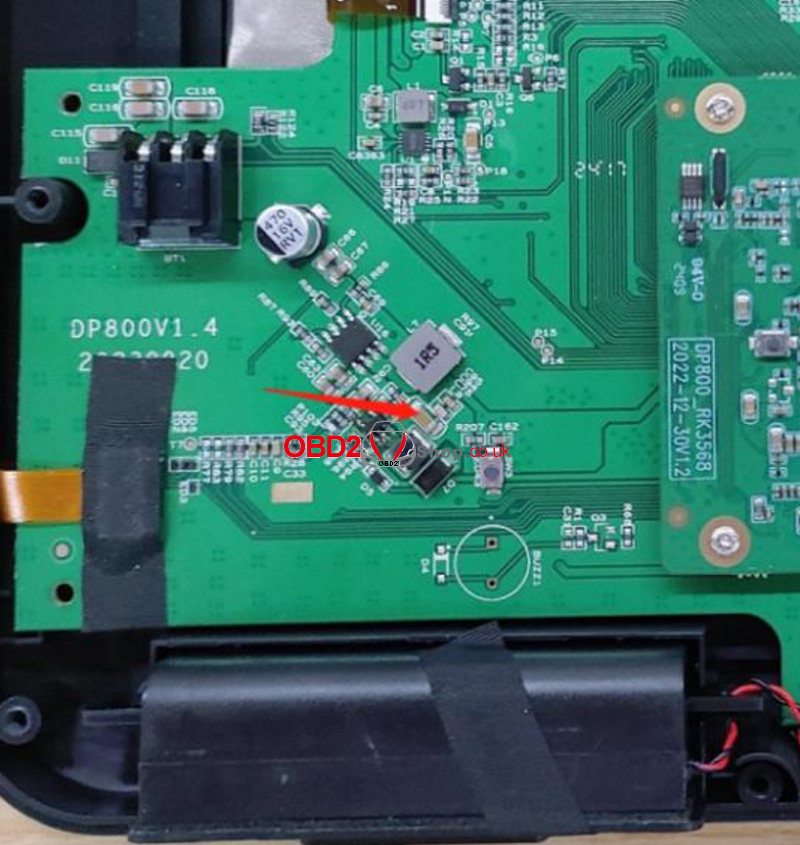
Step 4: Use a soldering iron or hot air gun set to 350 ± 10°C to desolder and remove U17 and L8. (Replace L8 with a 1uH inductor.)
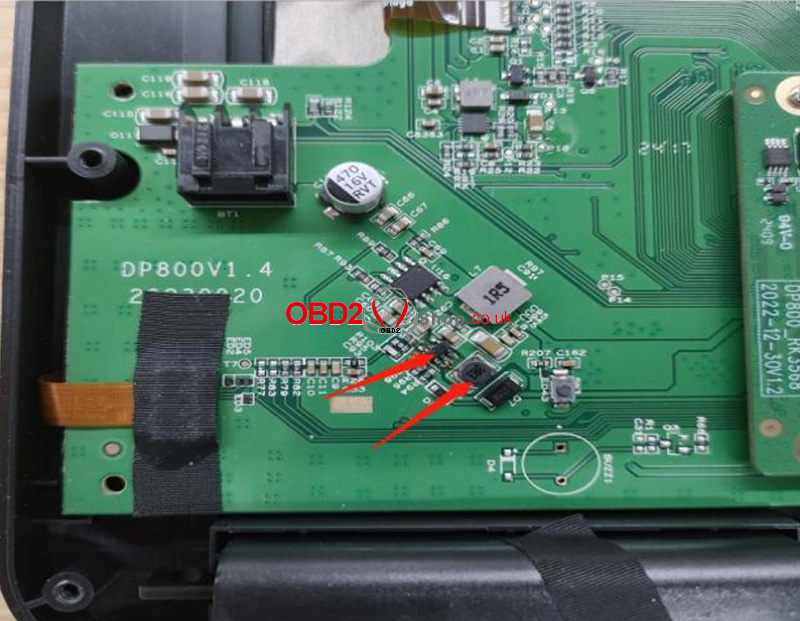
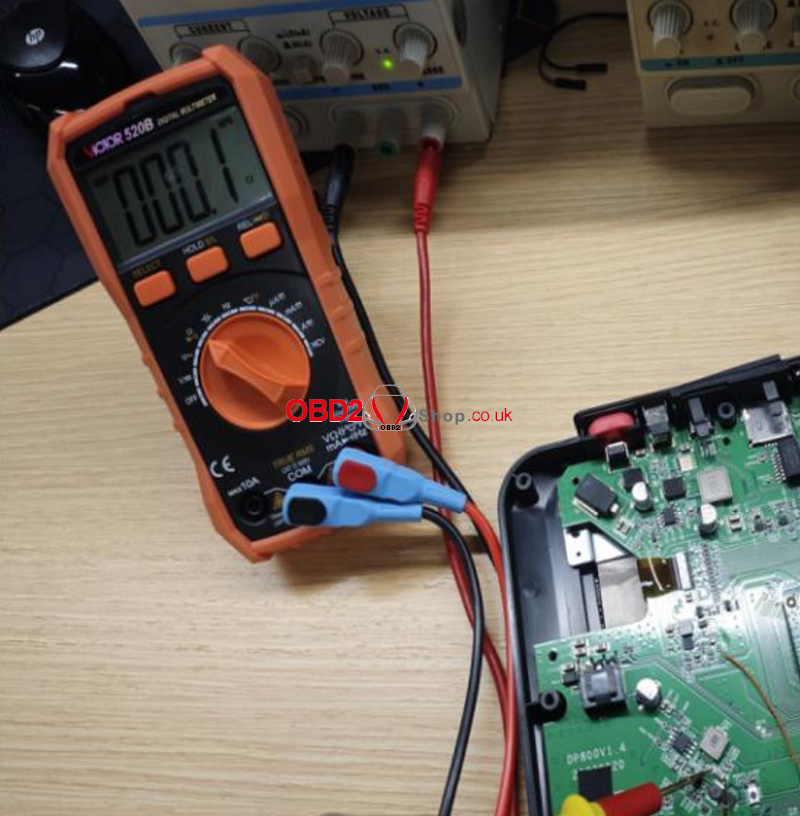
Step 5: After the replacement, use the multimeter set to the ohms range to test the two ends of capacitor C75 again. If the resistance is approximately 1.36K©, it confirms that U17 and L8 have been successfully replaced.
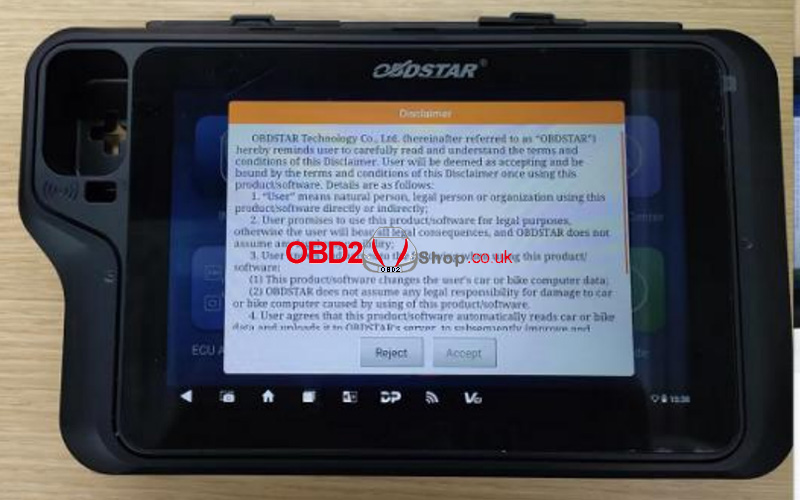
Step 6: Insert the battery connector, reassemble the back cover, and press the power button to turn on the device. If it starts up normally, the replacement is successful.
Step 7: Use a screwdriver to fasten the screws to the back cover, and put the rubber case back on. The replacement is complete!
This guide resolves short-circuit issues caused by faulty U17 and L8, restoring normal operation to the X300 Classic G3.
www.obd2shop.co.uk
Post je objavljen 18.04.2025. u 09:15 sati.