Condor XC-Mini Plus 2 prompts to restore factory settings
31.01.2023.Customer Problem: Hi, my Condor XC-Mini Plus 2 has the following prompt after resetting the password, what should I do?
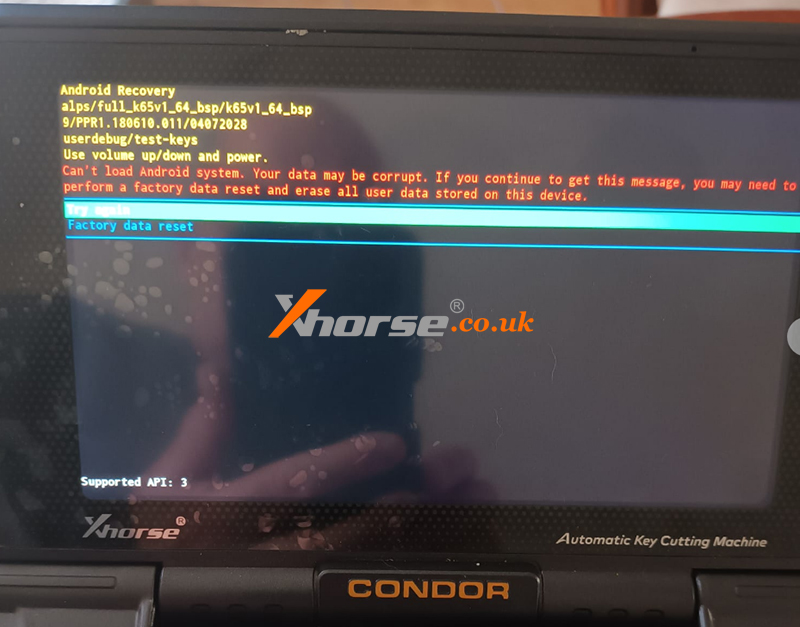
Solution: Just follow the instructions of the machine to operate.
For more technical support, please follow http://blog.xhorse.co.uk/.
Oznake: condor xc mini plus ii
komentiraj (0) * ispiši * #
Xhorse Condor XC-MINI Plus II Modify HON66 to VA2T Key Blank
06.12.2022.Modify key feature has been updated on Xhorse Condor XC-MINI Plus II & Dolphin II Key Cutting Machine recently. Following we're gonna show how to modify a HON66 to VA2T key blank via this function.
Check full operation:
https://youtu.be/jJNobZKBpWo
Modify HON66 to VA2T
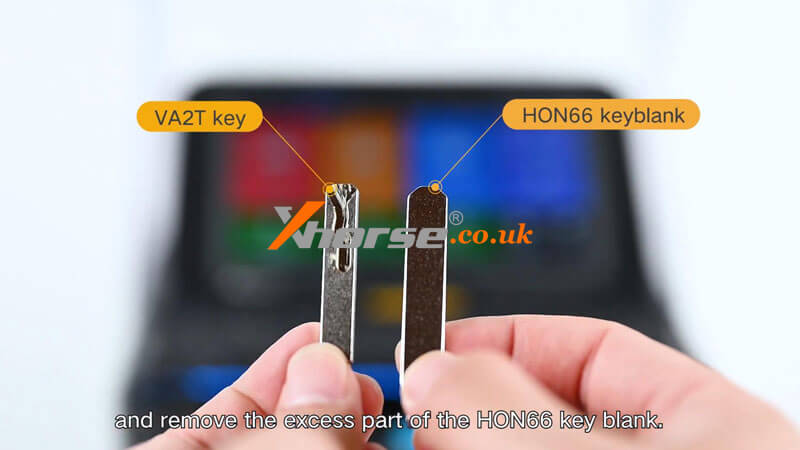
As we can see, the HON66 is wider than VA2T key blank. So we should modify and remove the excess part of the HON66 key blank.
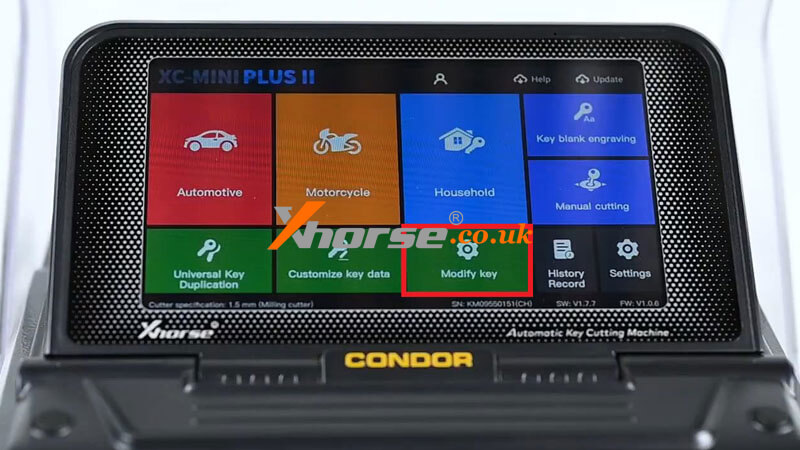
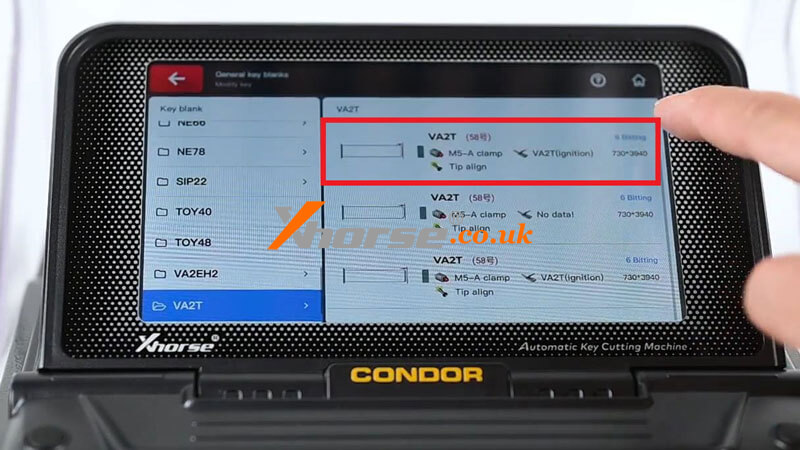
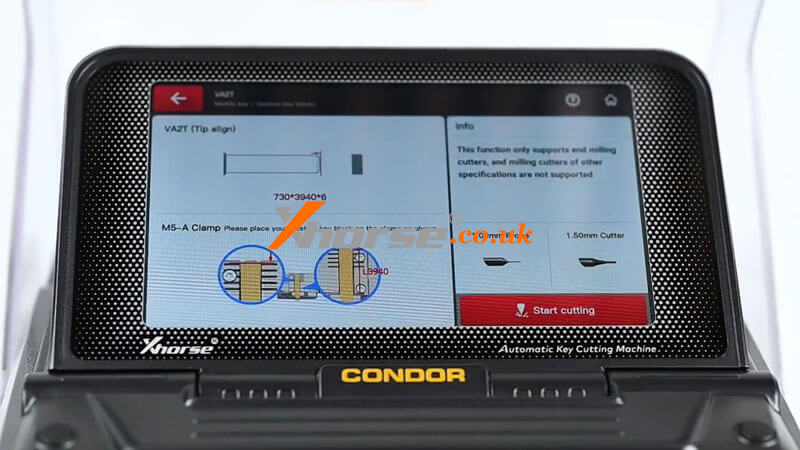
Modify key >> VA2T
Follow the on-screen instruction to install HON66.
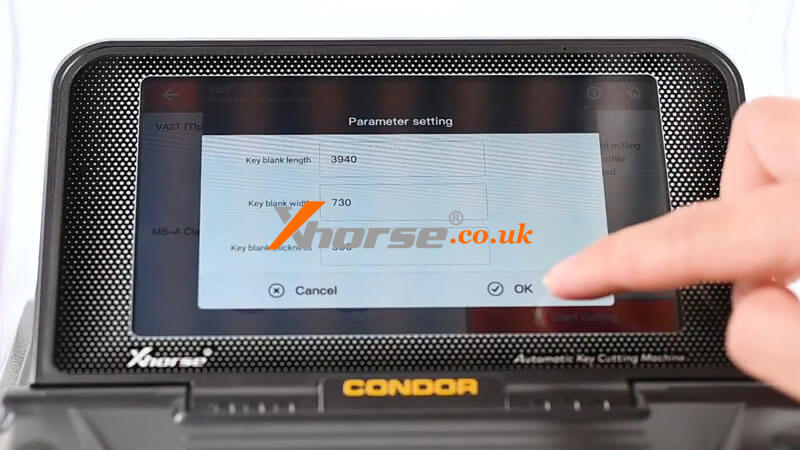
Start cutting >> OK with default setting
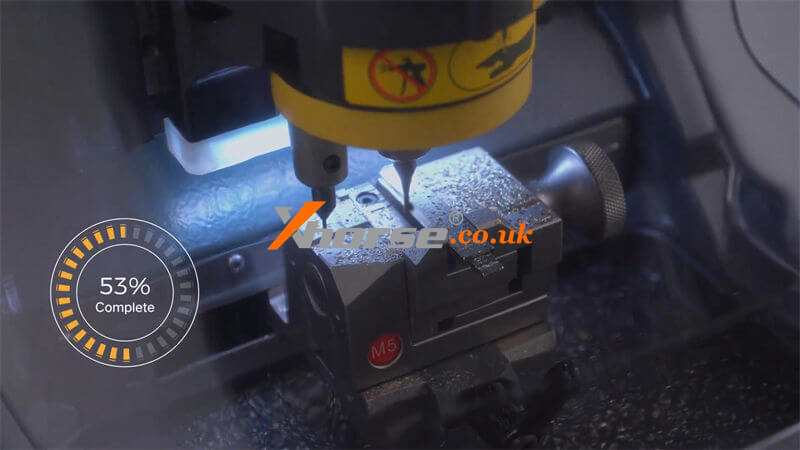
XC MINI PLUS 2 will start cutting automatically...
Just wait until finished.
Now we can see the edge of HON66 has been partly removed.
Install the key blank reversely to cut the rest part.
Now you got yourself a VA2T key blank.

Copy VA2T Key
And we can use this new key blank to copy a VA2T key.
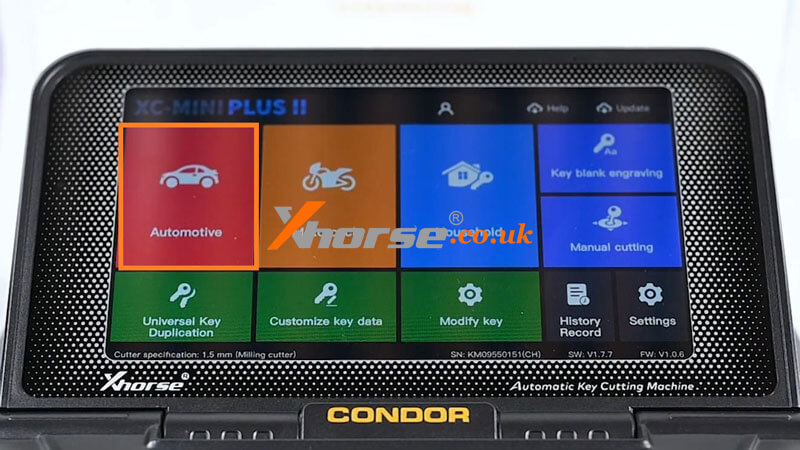
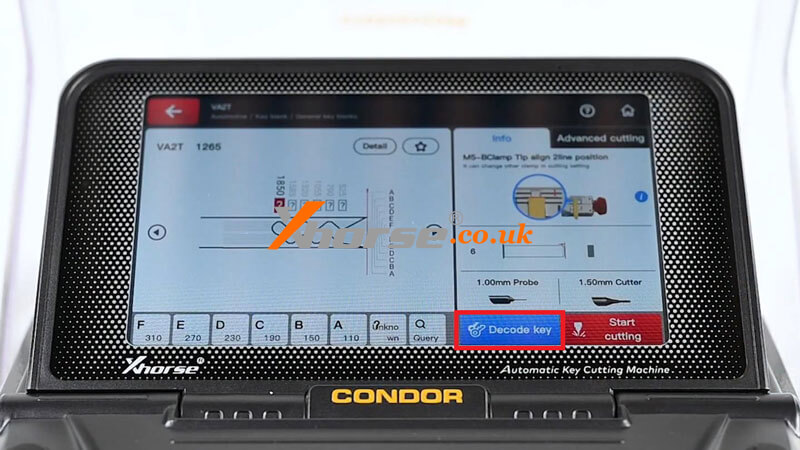
Automotive >> Key blank >> VA2T
Rotate M5 clamp to B side, insert the key.
Press "Decode key" to start learning...
Key learning success.
Remove VA2T, insert a new key for preparation.
Start cutting >> Cut
Repeat same operation to cut the other side.
Cutting key completed.
The new key can open the lock.
Work great.

Oznake: condor xc mini plus ii
komentiraj (0) * ispiši * #
How to Modify a Key to Flip Key with Condor XC-MINI Plus 2?
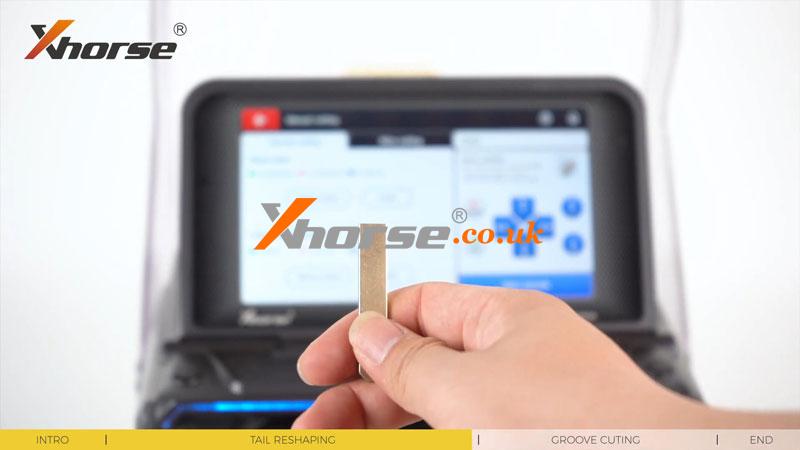
17.06.2022.New feature tail correction has been released recently on Xhorse Condor XC-MINI Plus II. It'll allow you to modify an ordinary key blade to a key that can be used in a flip remote. Following let's take a look at how to do it.
Tail Reshaping
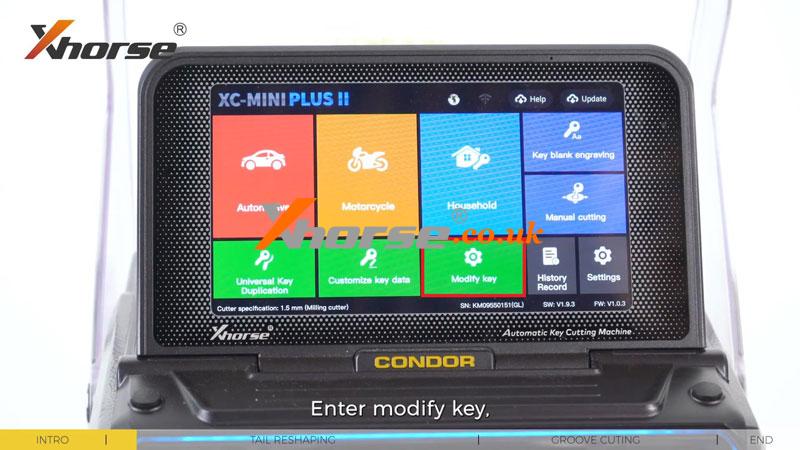
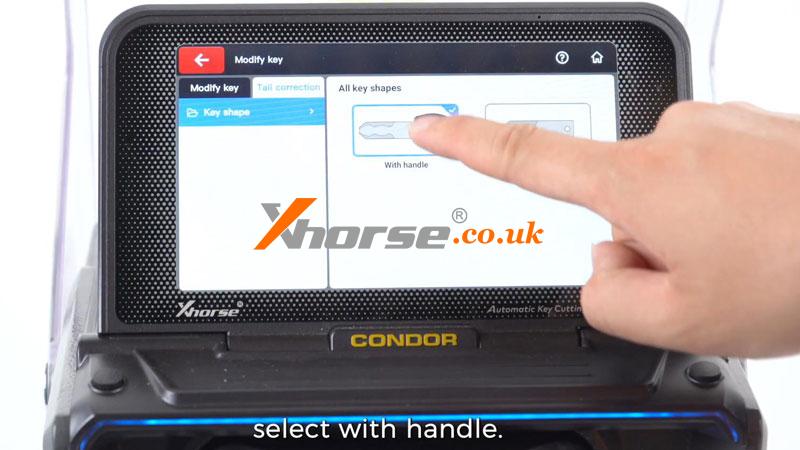
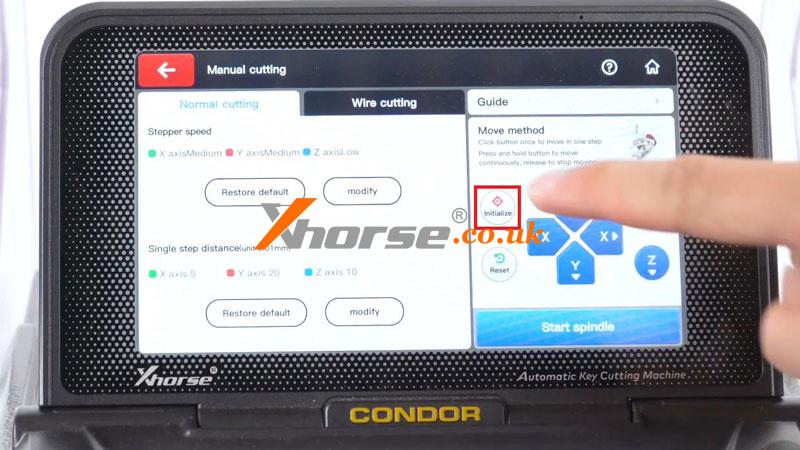
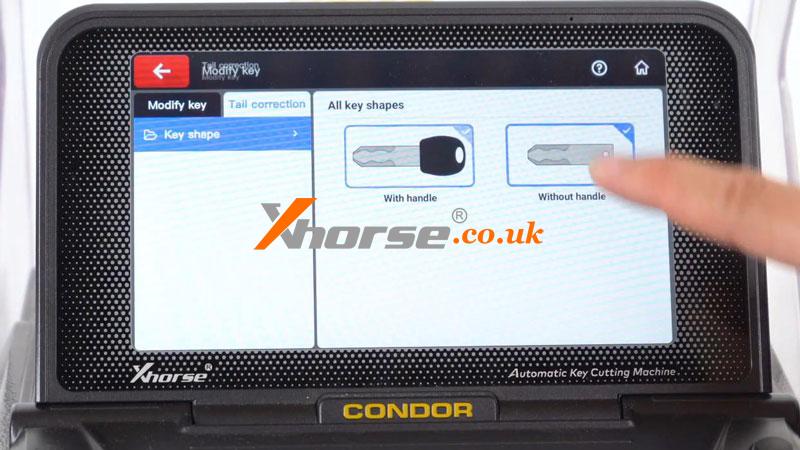
Modify key >> Tail correction >> With handle
Rotate clamp to the A side, do not place any key blank, press "OK".
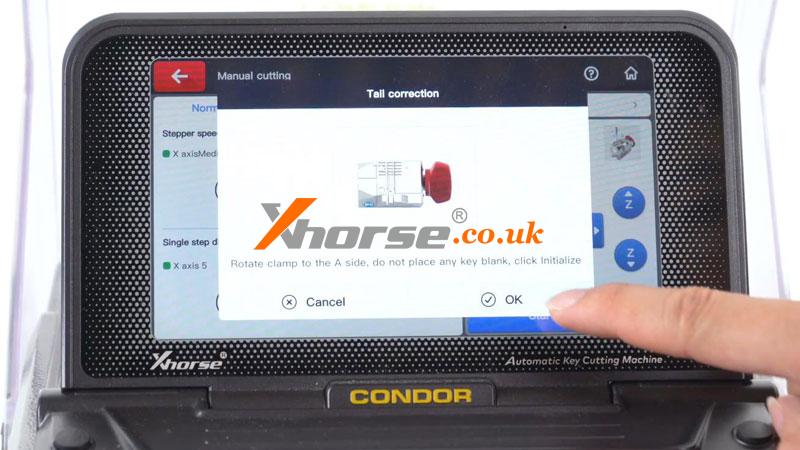
Tighten the M5 clamp, press "Initialize".
XC-Mini Plus 2 calibration completed.
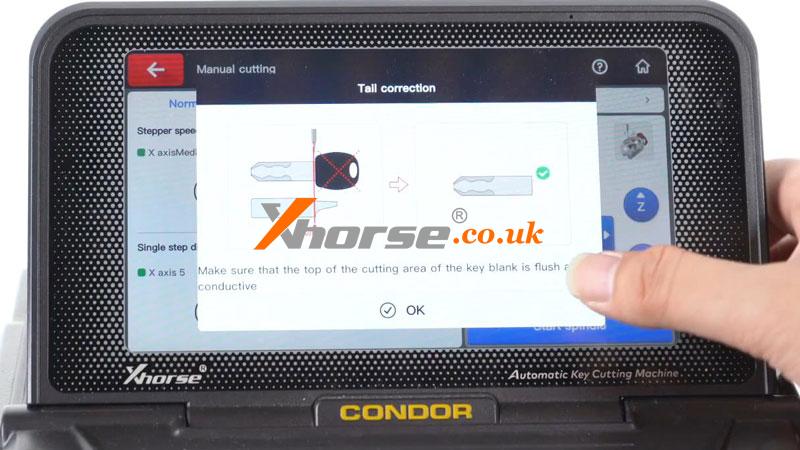
Make sure that the top of the cutting area of the key blank is flush and conductive.
Insert the key blade
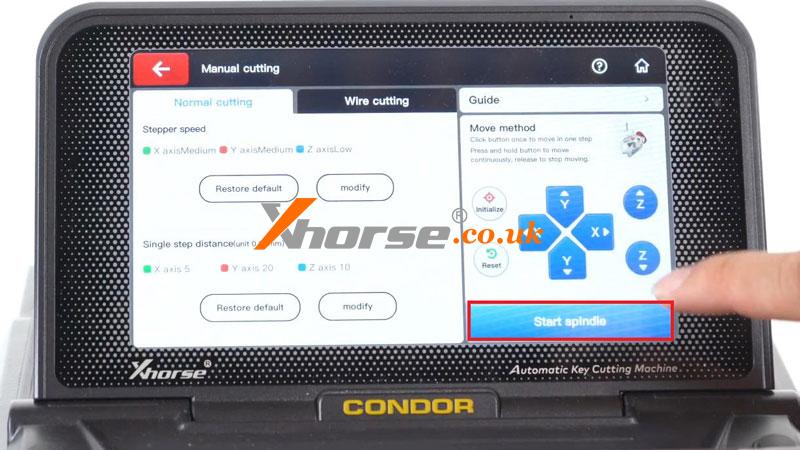
OK >> Start spindle
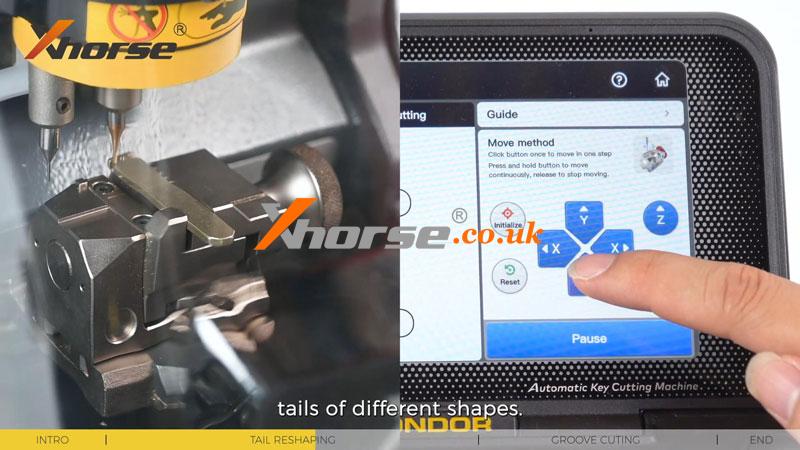
To an appropriate position to cut the tail of the key.
In this step, you can completely remove the key tails of different shapes.
Now you can see the tail of the key is removed.
Groove Cutting
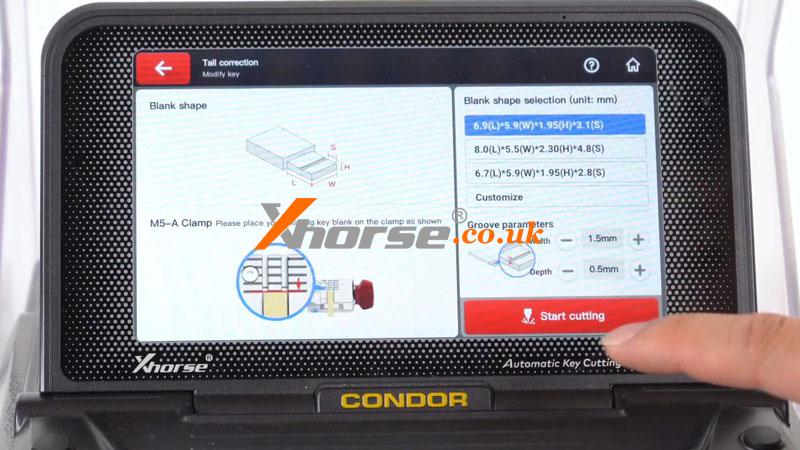
Now let's choose "Without handle" this time.
Insert the key blade onto M5 clamp again, press "Start cutting".
In this step, Condor MINI will detect the key itself and start automatic cutting.
So all you need to do is make sure you remove the tail in your last step well.
Cutting key completed.
Clean the shavings.
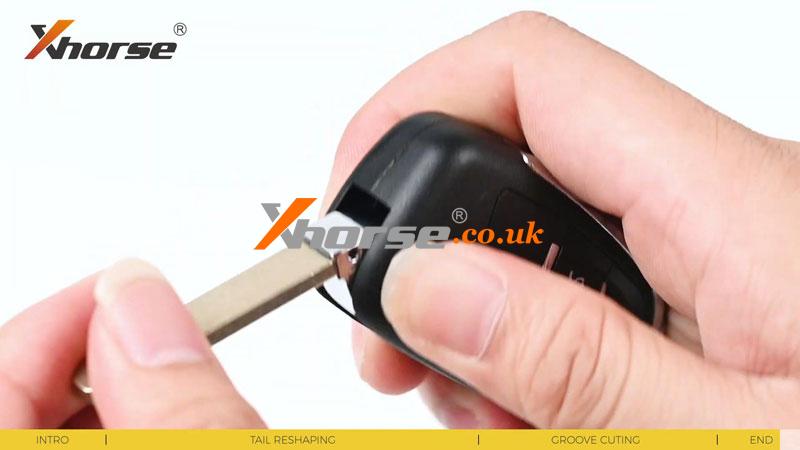
Now you got yourself a brand-new key blade.
And you can stick the key blade to your flip key remote.

www.xhorse.co.uk
Oznake: condor xc mini plus ii
komentiraj (0) * ispiši * #
Xhorse Condor XC Mini Plus II Update: Easier And Faster
09.02.2022.When you receive your key cutting machine, how will you update it?
Using a personal computer,
download an upgrade kit,
install the kit,
connect the PC to the machine with a USB cable,
and finally, you can update the device.
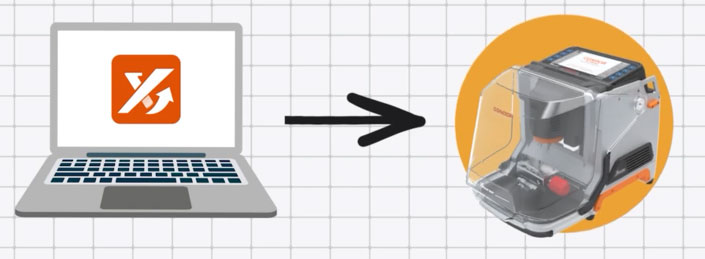
These tedious processes are not required in the new condor xc mini plus ii. It allows users to directly update the system, APP, firmware, and database on the machine.
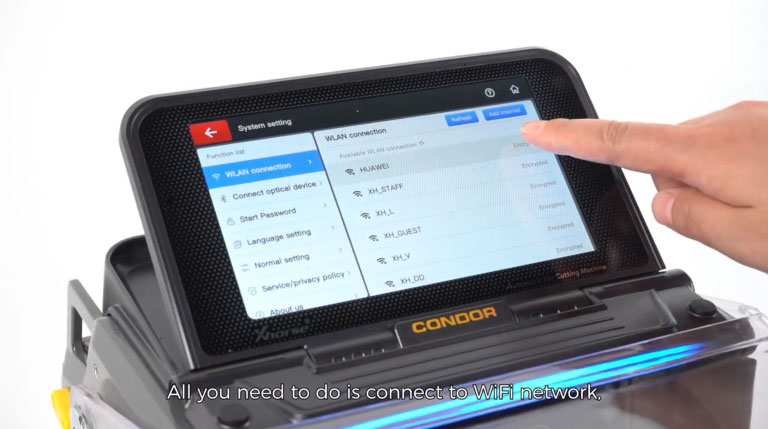
All you need to do is connect to a WiFi network.
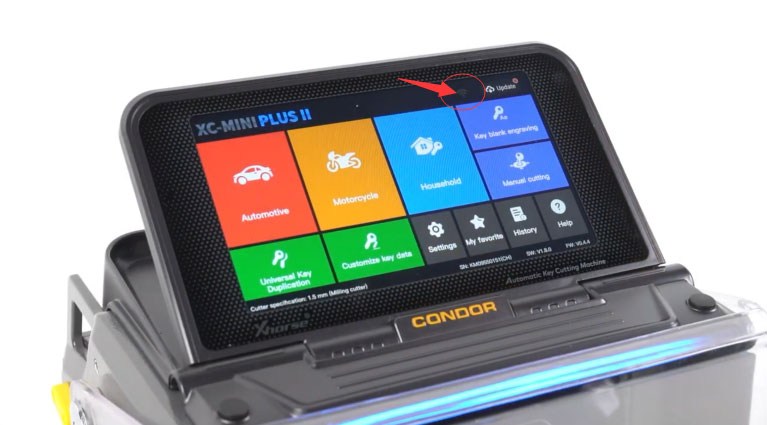
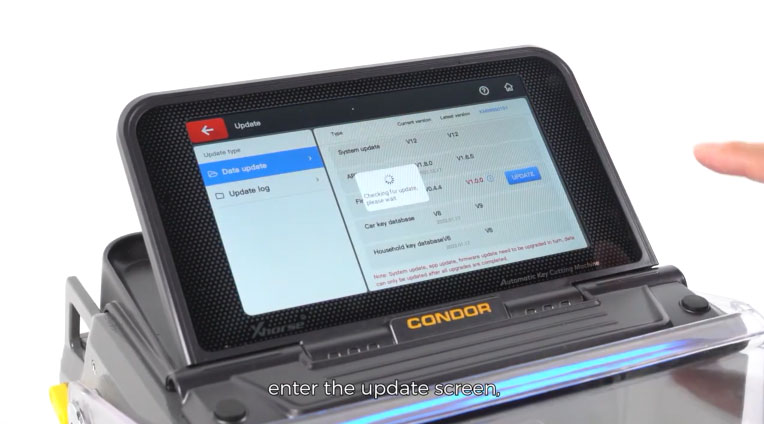
Enter the update screen.
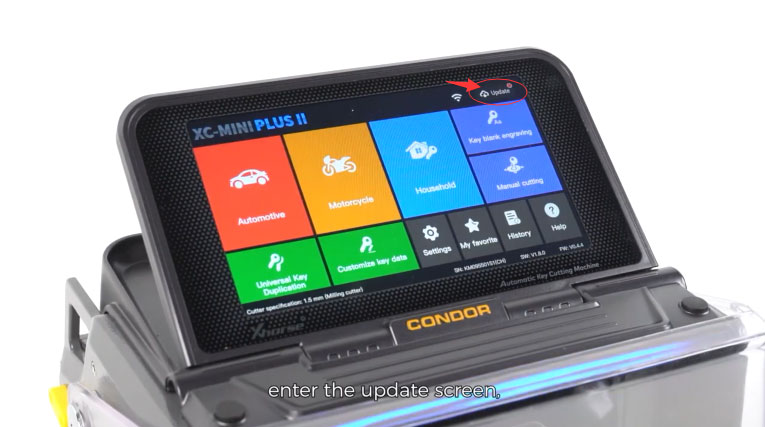
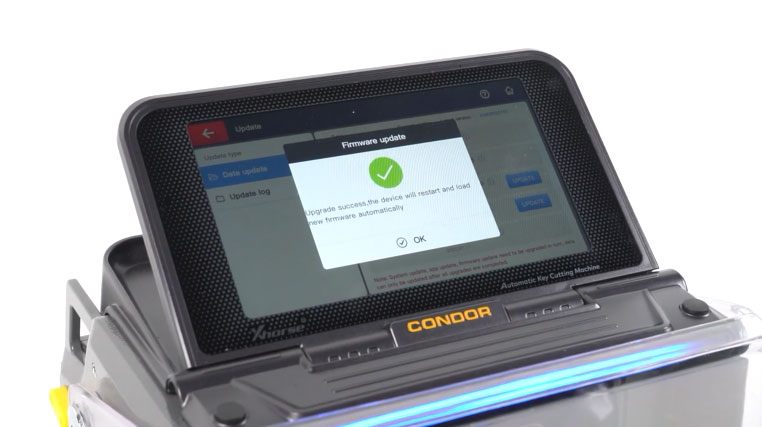
Press "update" and wait a few moments of time.

Finished!
it is much simpler and more intuitive for anyone who uses the condor xc mini plus 2.
You can also click the video to see a clearer operation:
https://www.youtube.com/watch?v=hKlVemv0hro
Oznake: xhorse, condor xc mini plus ii
komentiraj (0) * ispiši * #
