Xhorse VVDI BMW BIMTool Pro CAS Repair Instruction
31.01.2023.This is an operation instruction on how to use Xhorse VVDI BMW BIMTool Pro tool to repair CAS module via OBD/ EEPROM.
1. OBDII - CAS1 Repair
For suddenly condition cause CAS1 enter service mode while reading CAS1 EEPROM via OBD2 or CAS PLUG, you can select this option to repair.
2. OBDII - CAS3+ ISTAP Repair
For suddenly condition cause CAS enter service mode while update ISTAP*, select this type to repair.
You need to know CAS ID before continue. You can input the CAS ID or load EEPROM to read CAS ID.
Use the known CAS ID to repair: use this way if you have recorded CAS ID before updating CAS flash.
Use the CAS EEPROM to repair: use this way to repair if cannot read CAS ID. You need to have the CAS EEPROM dump file.
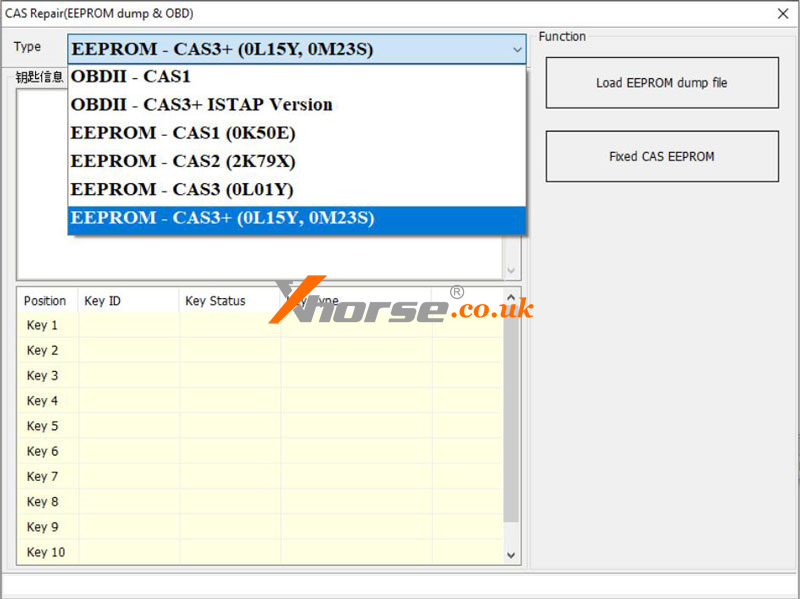
3. EEPROM Repair (CAS1, CAS2, CAS3, CAS3+)
Support loading EEPROM dump file in service mode, then automatically repair the service mode status and save the new EEPROM dump file.
Steps:
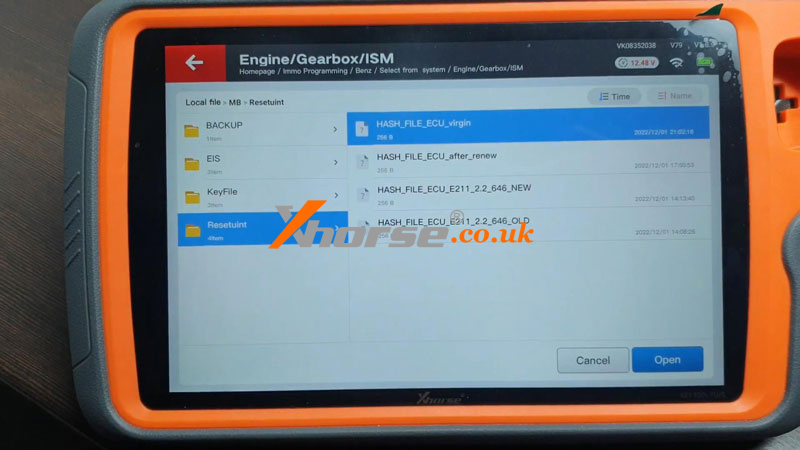
1. Load the EEPROM dump file that needs to be repaired, and it prompts that you need to load the FLASH file.
2. If you need to repair, you will be prompted to save the new EEPROM and FLASH files.
3. After repair, it is recommended to load the new file to see whether it needs to be repaired. If it is still prompted file need to be repaired, it means there is a problem with the file you read, please read and repair it again.
Technical Support
www.xhorse.co.uk
Oznake: vvdi bmw bimtool pro
komentiraj (0) * ispiši * #
Condor XC-Mini Plus 2 prompts to restore factory settings
Customer Problem: Hi, my Condor XC-Mini Plus 2 has the following prompt after resetting the password, what should I do?
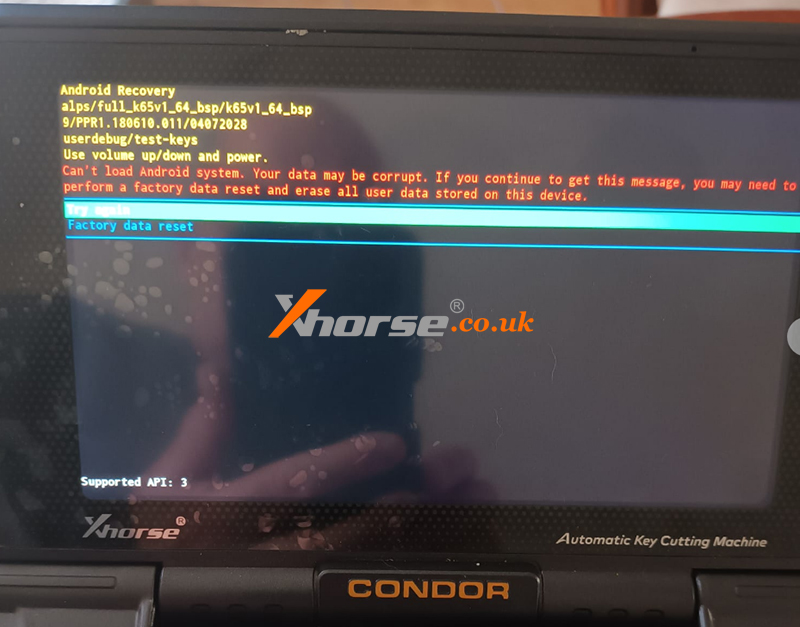
Solution: Just follow the instructions of the machine to operate.
For more technical support, please follow http://blog.xhorse.co.uk/.
Oznake: condor xc mini plus ii
komentiraj (0) * ispiši * #
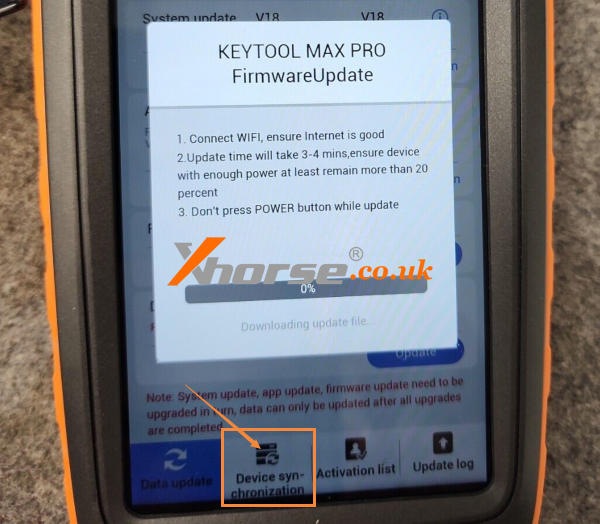
(Fixed) VVDI Key Tool Max Pro Firmware Update Error
30.01.2023.Customer problem: My vvdi key tool max pro got stuck here during the firmware update and it's still the same after restarting 10 times.
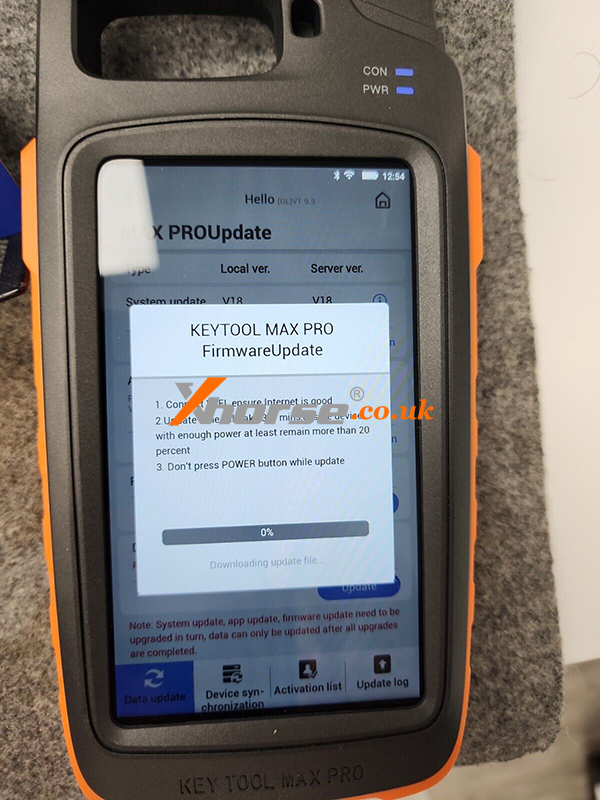
Solution: Synchronize first and then use mobile phone hotspot to update.
For more technical support on max pro key tool, follow https://www.xhorse.co.uk//xhorse-key-tool-max-pro.html
Oznake: vvdi key tool max pro
komentiraj (0) * ispiši * #
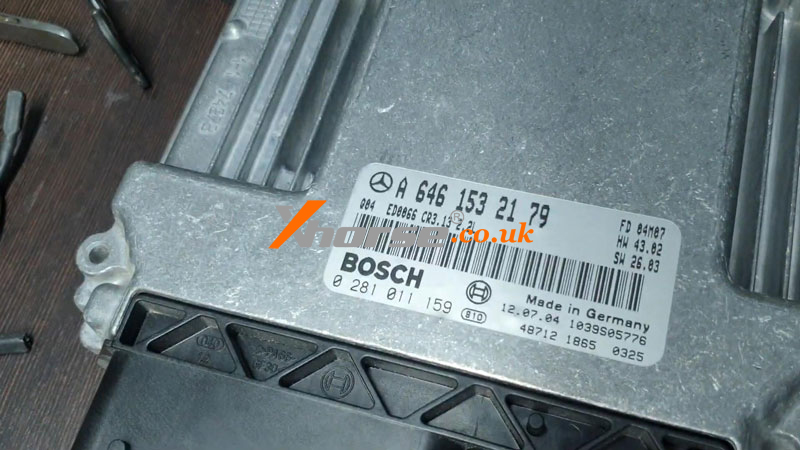
Xhorse VVDI Key Tool Plus Renew Benz W211 E220 EDC16C2 ECU
24.01.2023.This is guided to renew 2002 Mercedes Benz W211 E220 EDC16C2 ECU with Xhorse VVDI Key Tool Plus Pad. Only 2 steps in minutes, easy and fast. Read the procedure carefully to learn.
Step1. Read & Save File
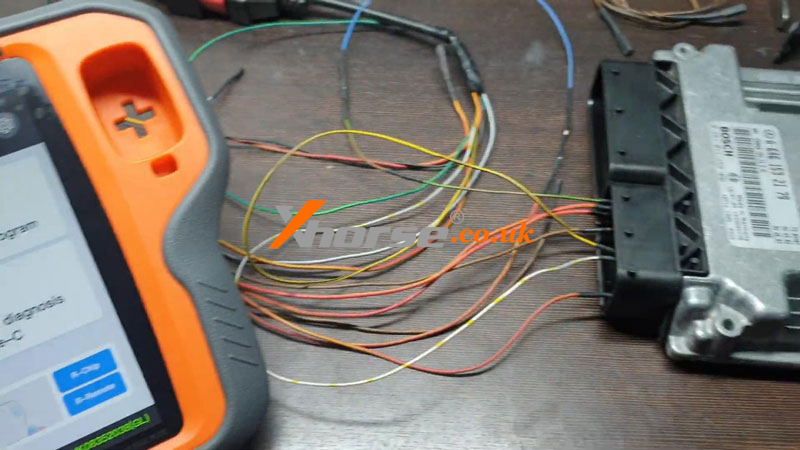
Remove BOSCH ECU from vehicle, connect to VVDI Key Tool Plus:
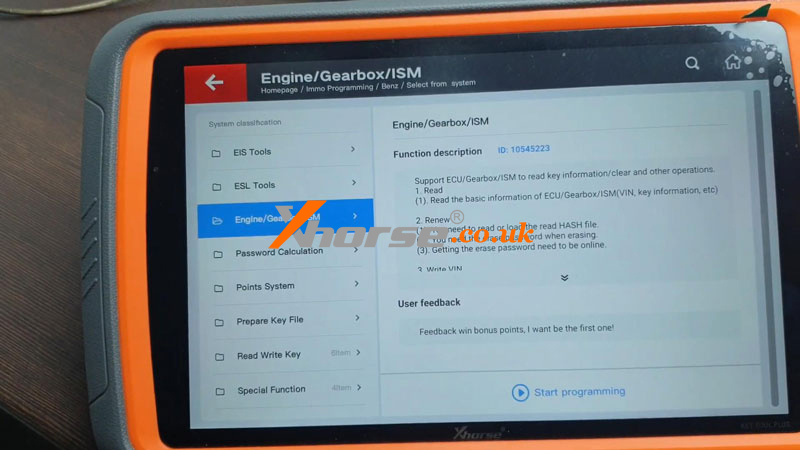
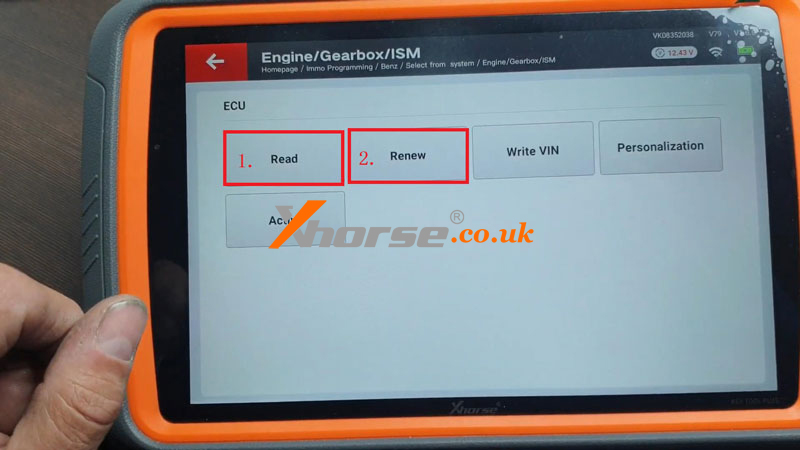
Immo programming >> Europe >> Benz >> Select from system >> Engine/Gearbox/ISM >> Start programming >> ECU >> Read
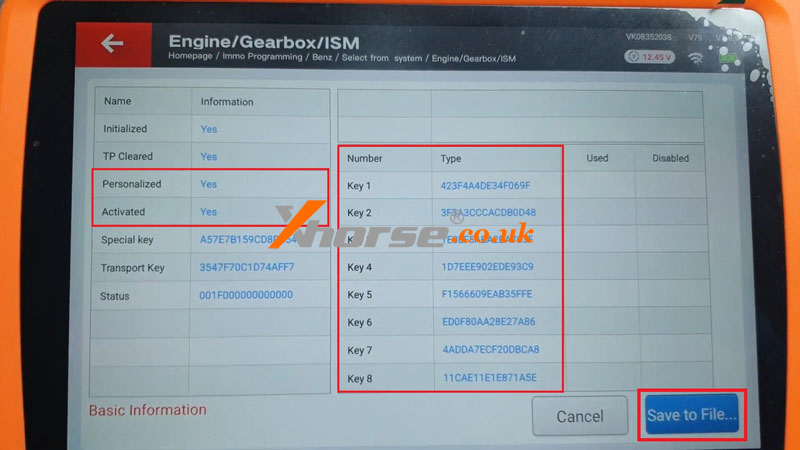
As we can see, there are 8 keys.
And the Personalized & Activated options are "Yes".
Save data file.

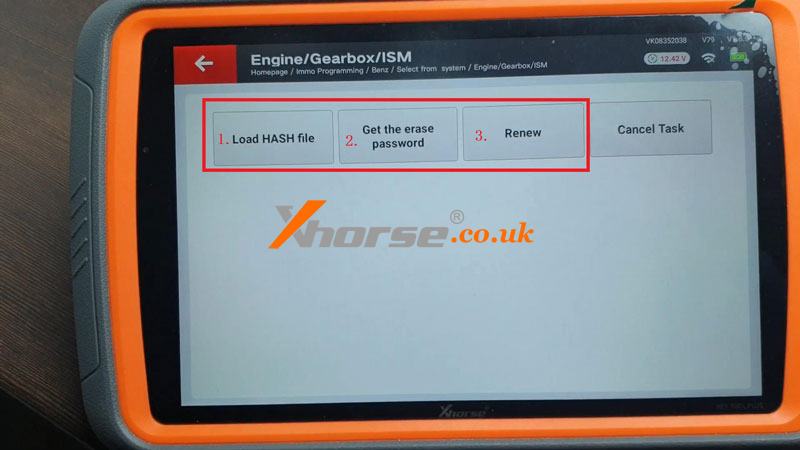
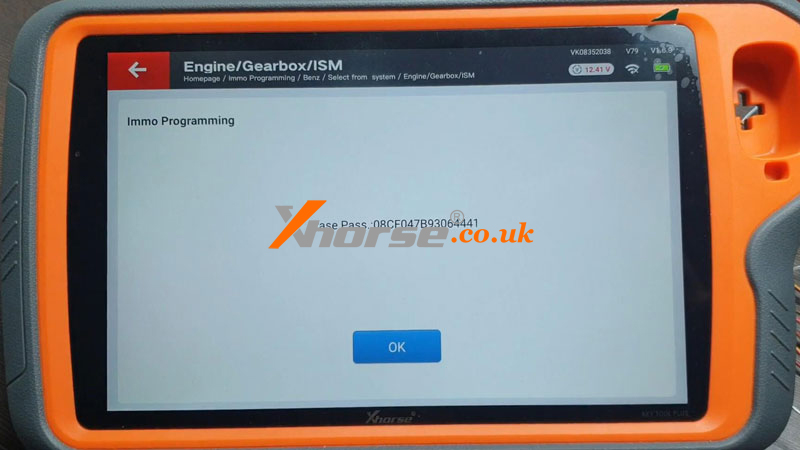
Step2. Virgin ECU
Renew >> Load HASH file >> Continue >> Get the erase password
Password has read out.
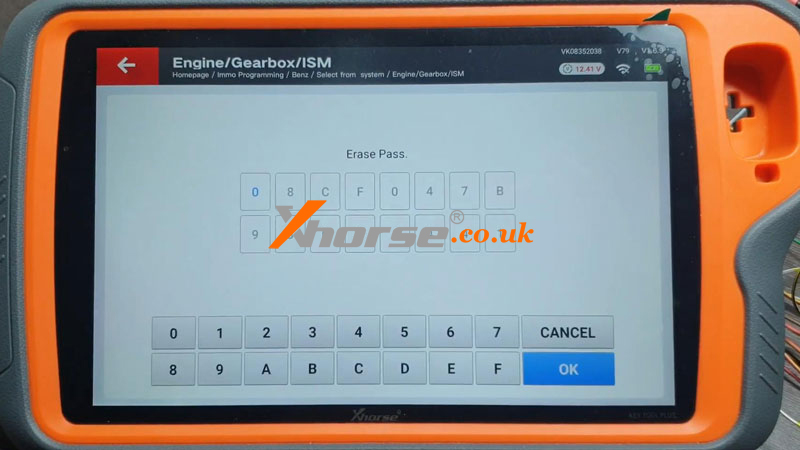
Renew >> OK
Xhorse Key Tool Plus will input the password automatically.
Erase target until success.
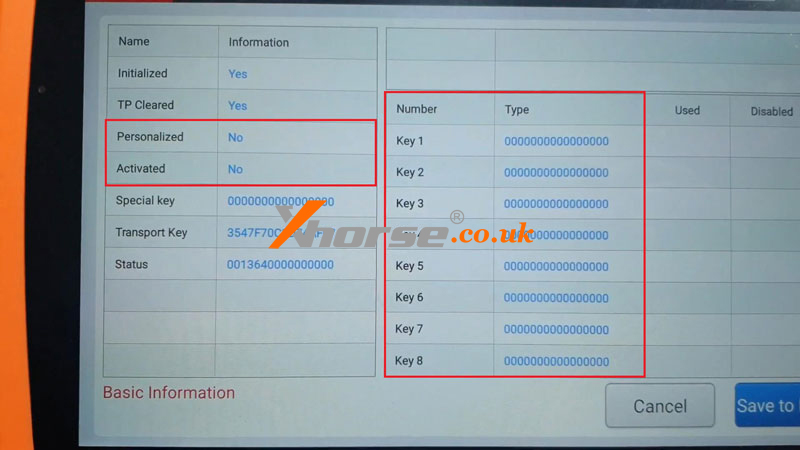
Go back to read ECU again.
As we can see, all keys were cleared.
And the Personalized & Activated options have been changed to "No" now.
Mercedes W211 E220 EDC16C2 ECU has been renewed successfully.
www.xhorse.co.uk
Oznake: vvdi key tool plus
komentiraj (0) * ispiši * #
Xhorse VVDI Key Tool MAX Pro Change Garage Remote Frequency
13.01.2023.This is a tutorial on how to disassemble the XKGHG1EN Masker Garage Remote to change frequency with Xhorse VVDI Key Tool MAX Pro.
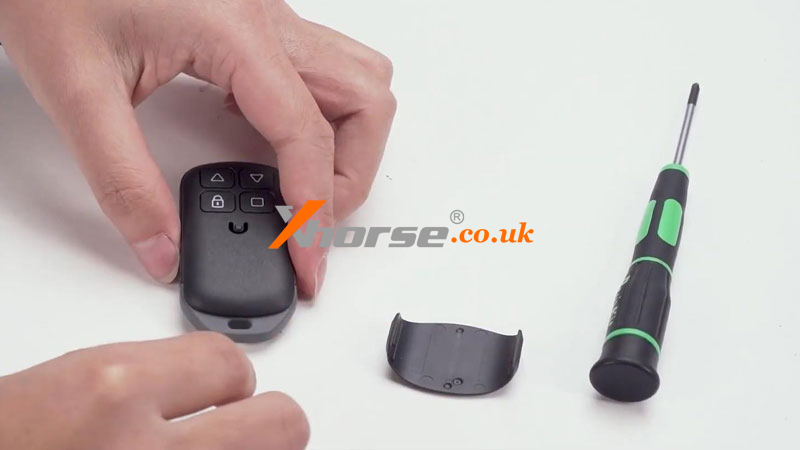
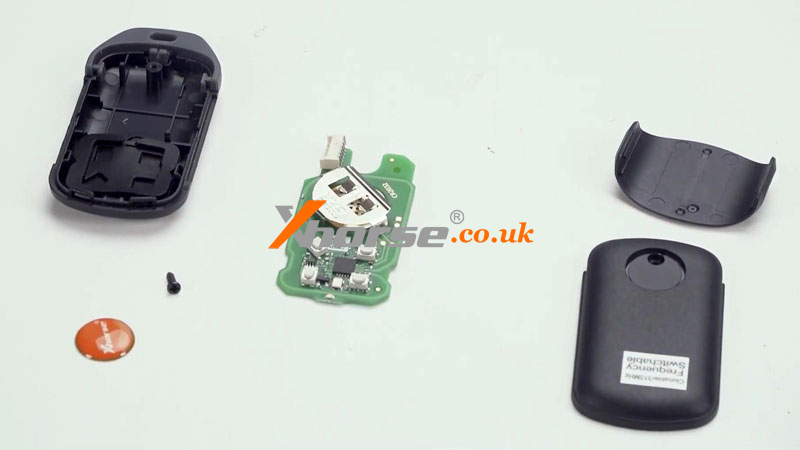
How to disassemble XKGHG1EN Garage Remote?
1.Remove the cover of remote key, tear off Xhorse logo, use a screwdriver to remove the back screw;
2.Remove the back cover and take out the PCB board of remote key.

How to change XKGHG1EN Garage Remote frequency?
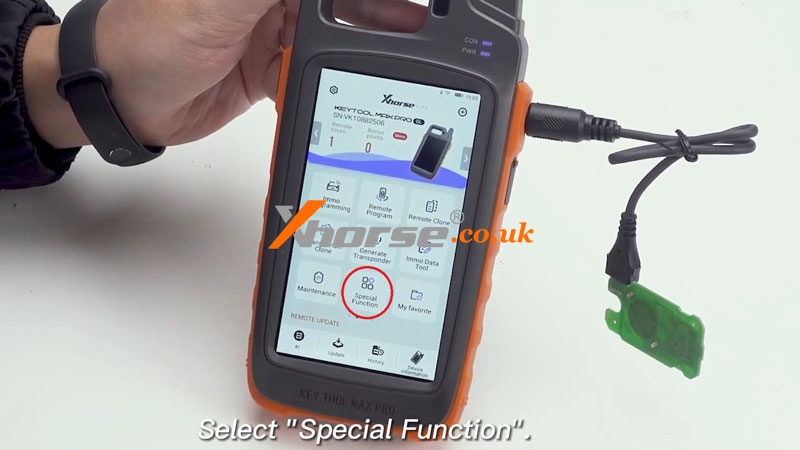
1.Connect the garage remote to VVDI Key Tool MAX Pro via USB cable;
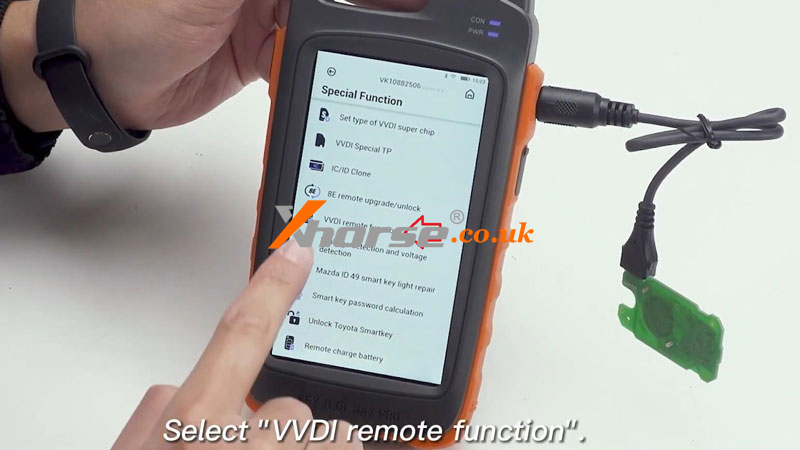
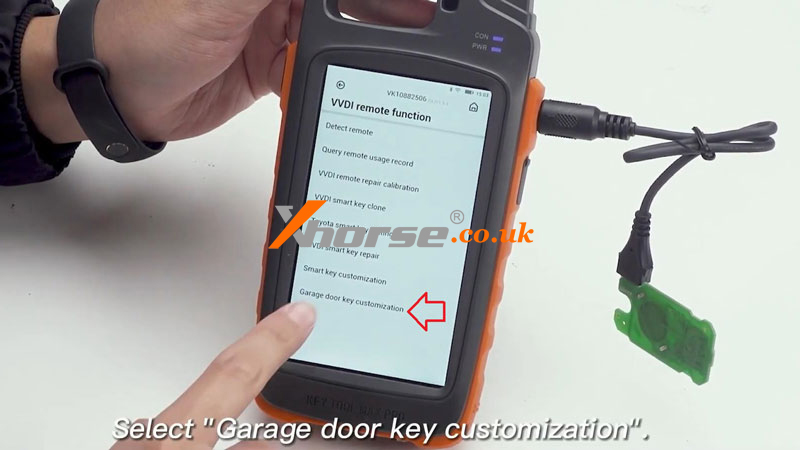
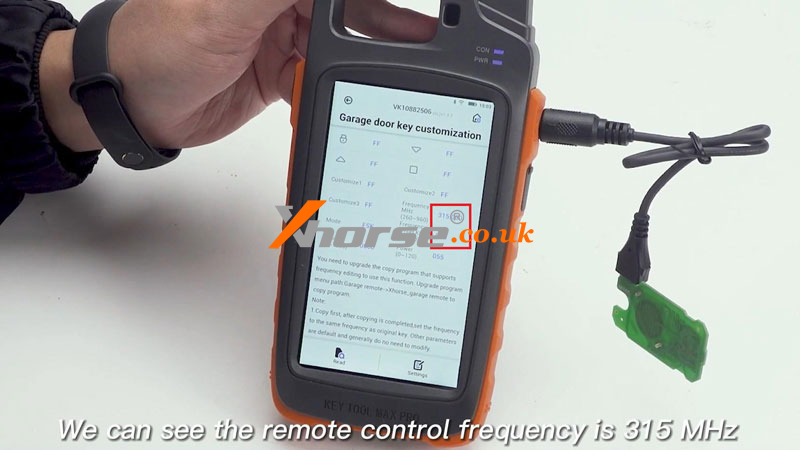
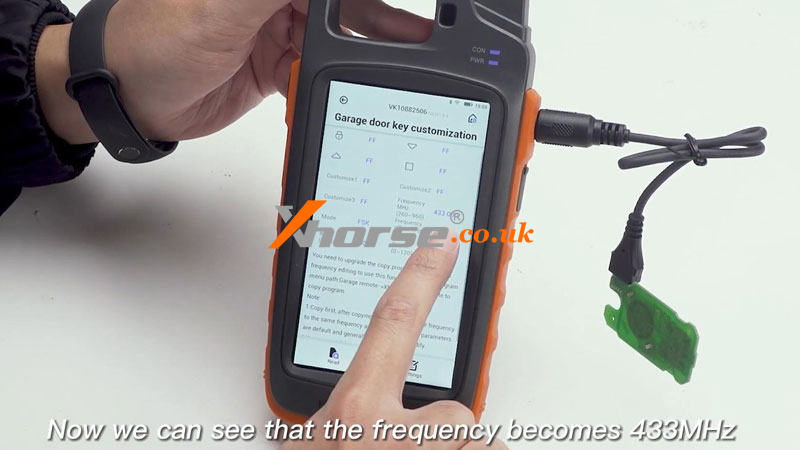
2.Special function >> VVDI remote function >> Garage door key customization >> Read
We can see the garage remote frequency is 315MHz.
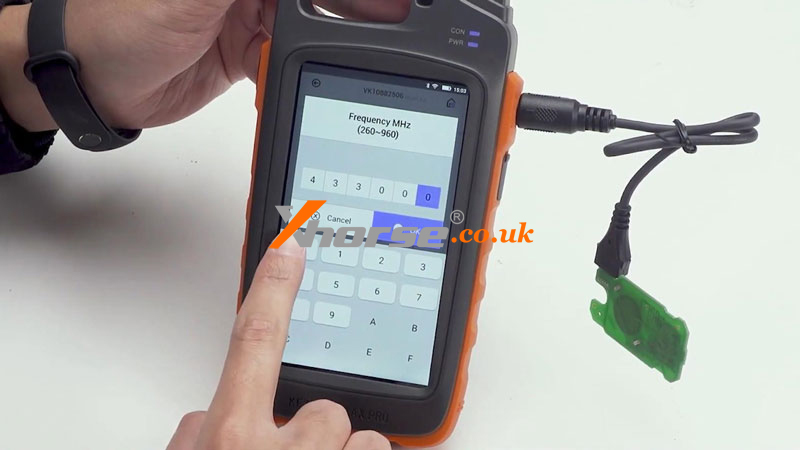
3.Click on "315MHz" value to modify, input new frequency value to save;
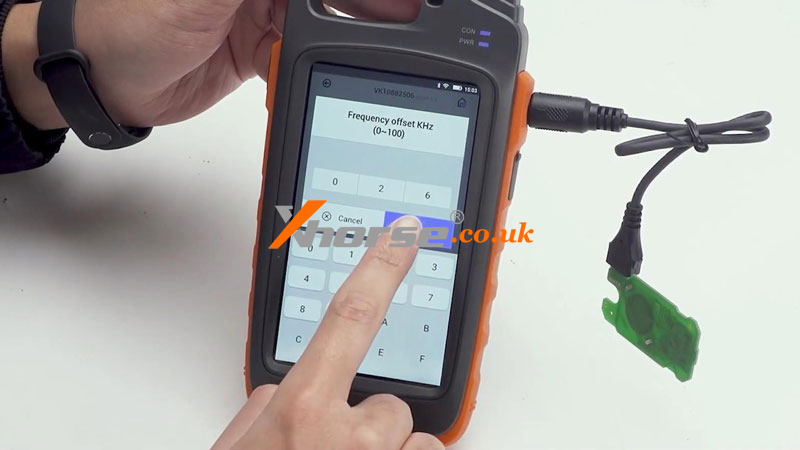
4.Click on "055" value to modify, input new frequency offset KHz value to save (needs to be within the range it shows);
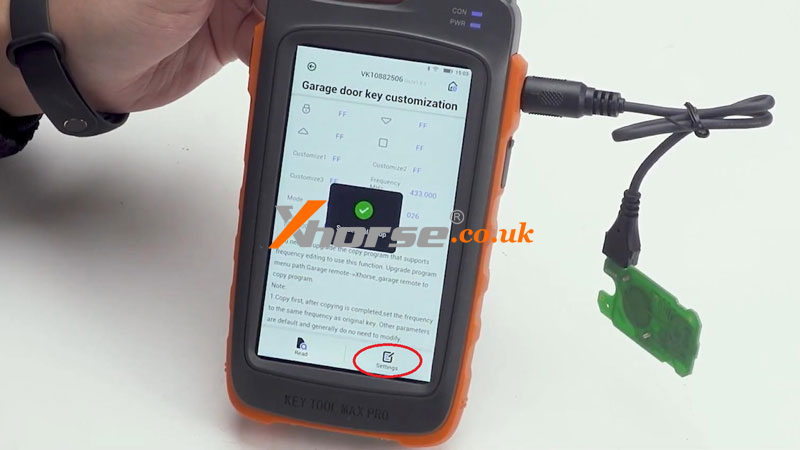
5.Click "Settings".
Successful setup.
Go back to read the Xhorse garage remote frequency again, now we can see its frequency has become 433MHz.
Completed.
www.xhorse.co.uk
Oznake: vvdi key tool max pro
komentiraj (0) * ispiši * #
Xhorse Masker Garage Remote Delete Codes, Remote Clone Guide
03.01.2023.Xhorse XKGHG1EN Masker Garage Remote can support to set frequency, delete code, clone remote, recover data and generate remote. This article is talking about how to check delete codes status, so that we can continue to clone remote.
How to check Delete Code Status?
Before cloning remote, we should check the garage remote status, to make sure remote in deleted code status.
1. Deleted code status: The LED will flash once then go out quickly when keep pressing any button of the garage remote.
2. Delete code operation:
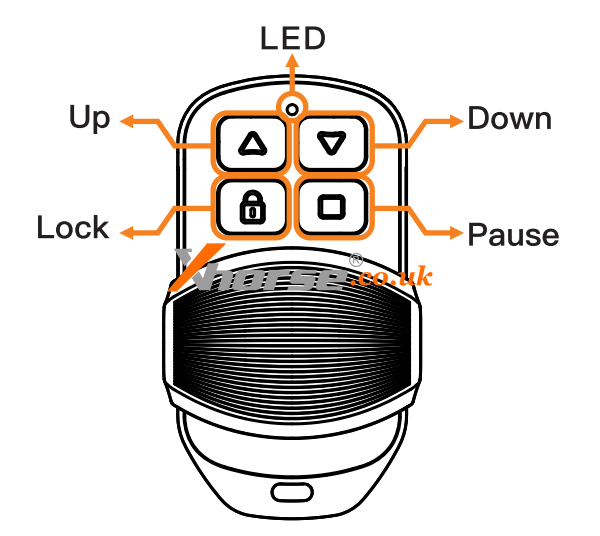
1) Press and hold "Up" & "Down" buttons at the same time, until LED light on. Keep pressing 2 buttons until the LED light off, then release the buttons;
2) Press and hold "Pause", until LED light on then off. Release the button, delete code successfully.
How to do Remote Cloning?
1. Preparation work
1) Please confirm the garage remote has been in deleted code status. If not, please do above delete code operation first.
2)Make sure the garage remote frequency is same as original remote, in case the remote cloning failed or even remote cloning successful, but the working distance is too short to work well.
2. Remote cloning operation
1) Press and hold any one button of Xhorse Garage Remote, this remote will enter cloning mode, LED will flash once then off (keep pressing the button).
2) Press and hold original remote one button (same button as step1). Put the original remote next to Xhorse garage remote. Once the LED light is on, which means current button cloning is successful.
3)Follow the above steps to clone remote all buttons one by one.

Read also:
Xhorse Masker Garage Remote User Manual: Set Frequency
Oznake: Xhorse Masker Garage Remote
komentiraj (0) * ispiši * #
